It’s been a while. Went snowboarding in Wyoming with my brother-in-law, his wife & my remarkable niece. What fine hosts, and I had the greatest time there. I’d been to the Tetons many times in the summer to hike and climb, but this was my first time there in winter to snowboard. An excellent variety of terrain, rugged and scenic. I miss those days when I would lose myself in nature & the dissolution of the self, but after being so out of my head there and on return, I and ready to get back to work on this. The few people following this blog have told be they have in fact no complete idea what the process is here I’m illustrating; and how I can focus so much seeming effort upon it?
It is the complexity of it all which lets me lose myself in the work.
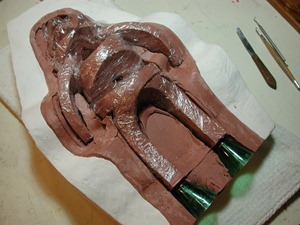
Here’s the first side again, now trimmed back from the edges to expose the plaster surface and match the extent of the first side blanket, which of course you can’t see, so it’s helpful to have pictures to refer back to. The new second plaster side will match face-to-face with the exposed plaster, creating a shell, or mother mold, within which the silicone mold is supported.
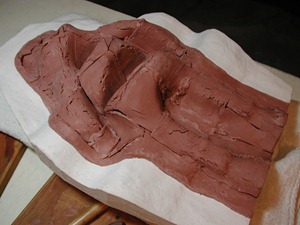
Another clay blanket is made now for this, the back side of the model. Again, these are sheets of clay not more than 3/8th inch thick, laid on the model.
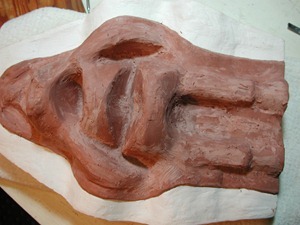
After a rudimentary smoothing-out. This layer will become the shape of the silicone mold rubber to eventually take its place, and the second side plaster will be poured on top of it, so it must not have any undercuts to interlock with the plaster.
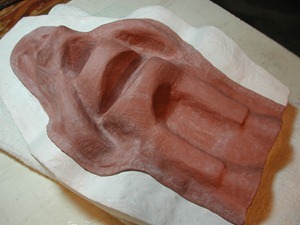
The nearly final form of the blanket.
Next, I create the sprues and vents for where the silicone will (eventually) pour in, and box it up all around (again) so the plaster can be poured on.


