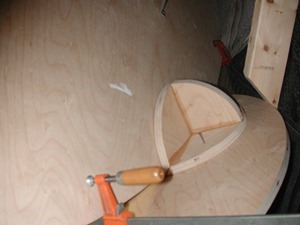
The body can go together now, and the attachment of the limbs.
The body is set upon the floor, and the head-piece is clamped into position with the help of a jig to hold it in place while adjustments are made, viewpoints are checked-out, comparisons to the model are referenced, and markings are drawn.
Mounting holes to the bracket are measured, drilled, Tee nuts inserted, and the head is fastened on. Nice.
The right leg goes the same. It is clamped into place and compared to the model.
At this point I’m not certain about the best way to arrange, mark, and drill the mount bracket for the leg, and I’ll have four of these to do, so I want to get it right, have a system, and repeatable. The four holes on two pieces to be joined must line up accurately, or it’s a mess.
I drill a 1/8” pilot hole centered in each quadrant of the bracket. I then mark the placement of the bracket, and hold it with nails through the pilot holes. One at a time, I remove a nail and drill the pilot hole deeper through the leg or body part. Then I can remove the bracket and drill the four 3/8” holes for the bolts, through the body and leg following the pilot holes. I put the bracket on the drill press to drill the holes for the Tee nuts nice and perpendicular. I don’t want that angled or it will be difficult for the bolts to thread into them. That’s how I figure it, and this first one’s a test. I have better pictures of this to follow, during the mounting of the other three limbs.
This works. I can even do it mostly by myself without a helper. I feel this will come together quickly now, well, not exactly, because there’s a lot of complicated marking and drilling to do for each bracket and limb, so I’ll say instead, come together reliably.
A system, Ahh!


