Author Archives: matthew DG

Unknown's avatar

About matthew DG

What I'm making & seeing & saying

Shell fini

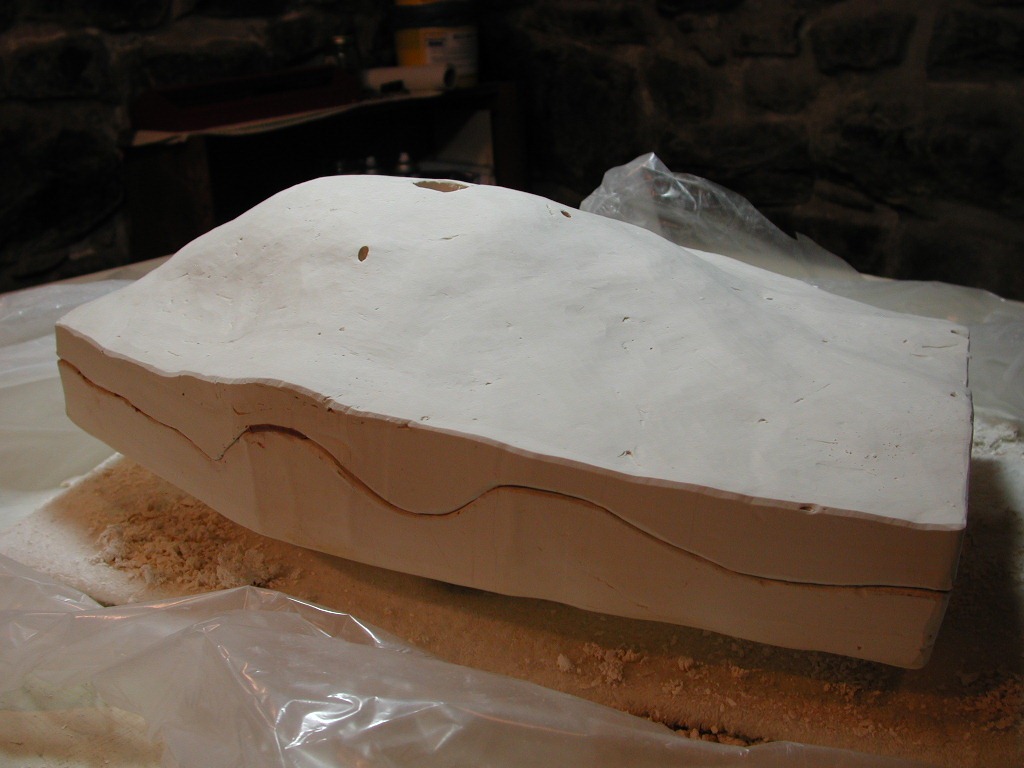
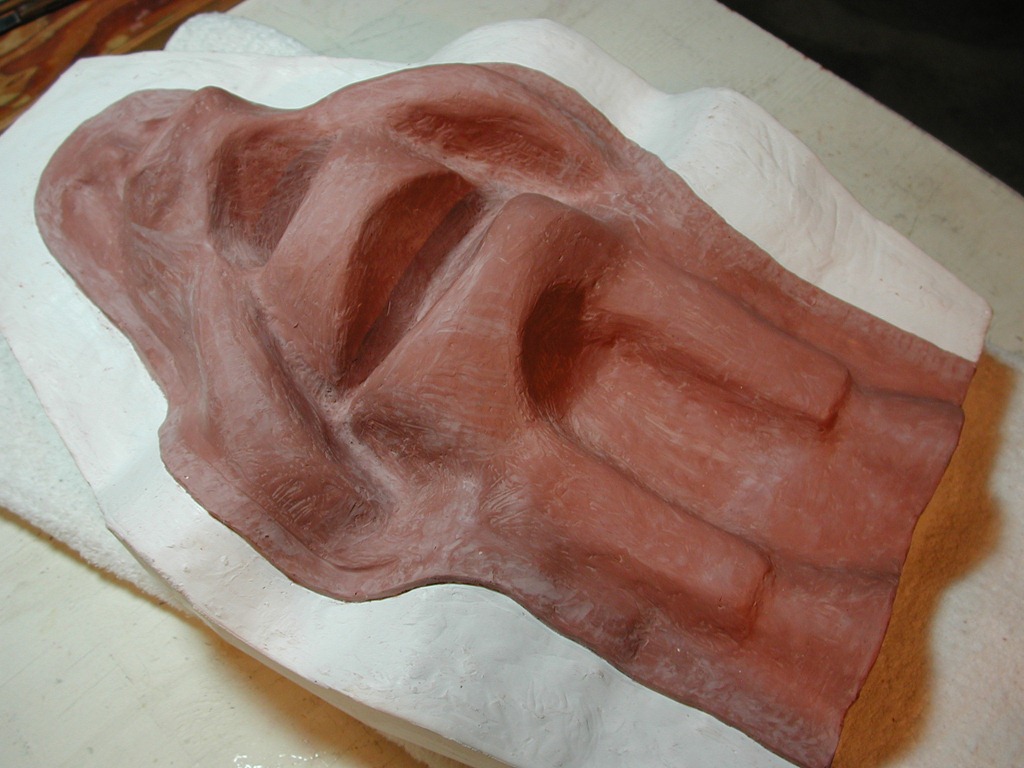
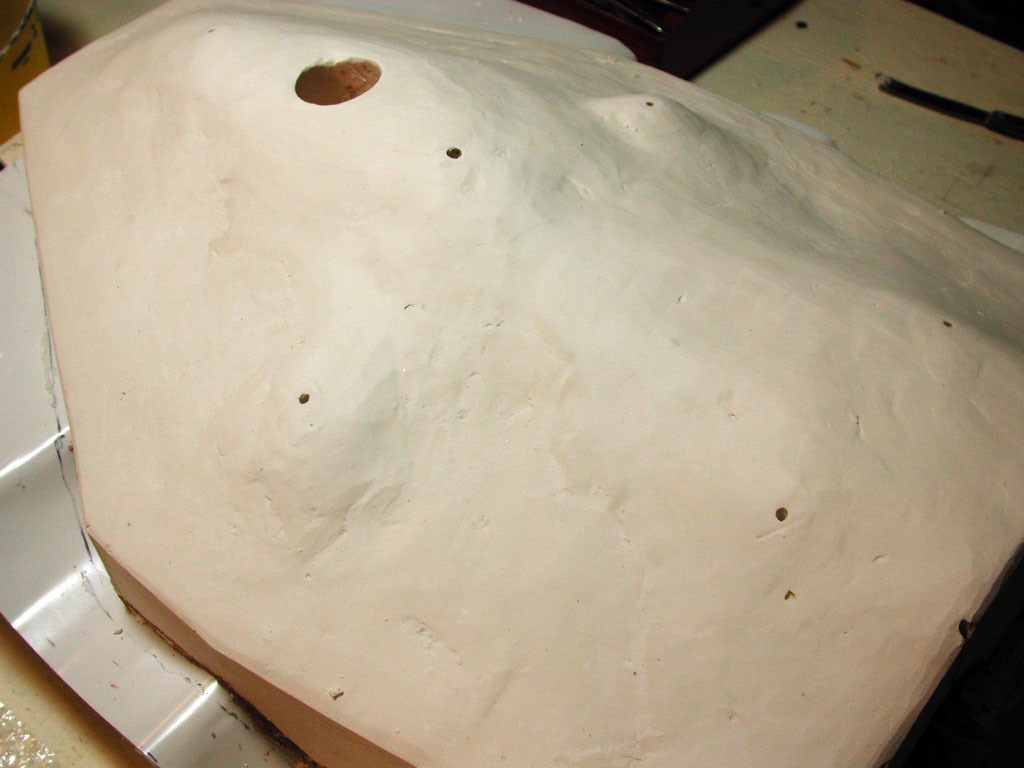
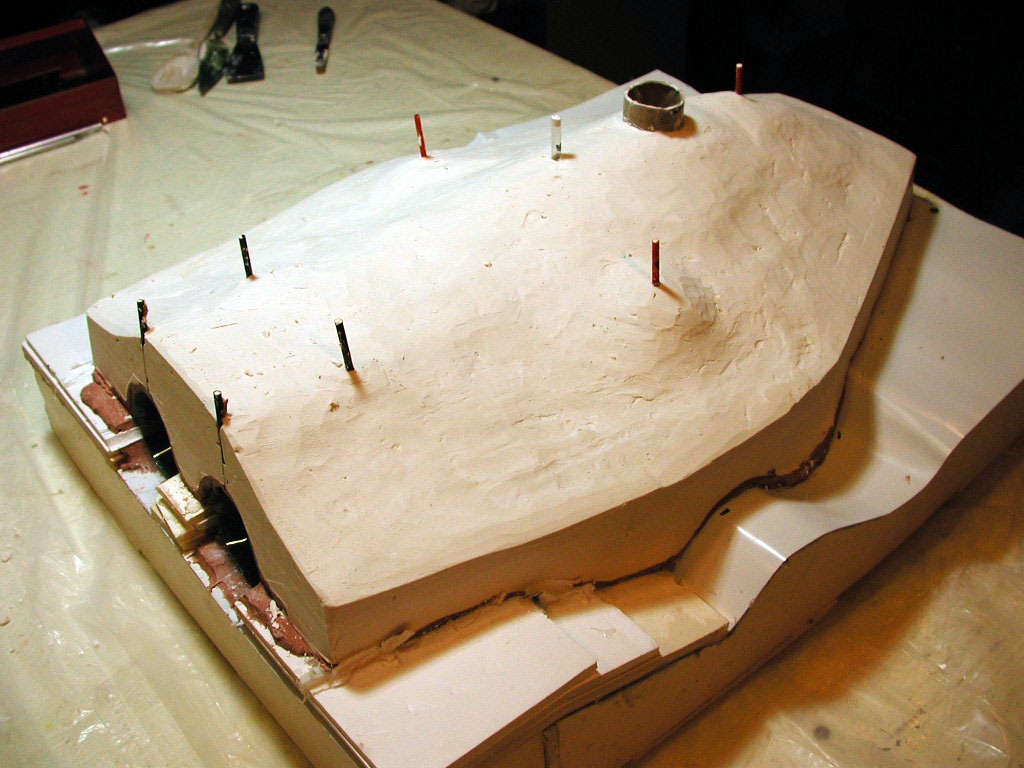
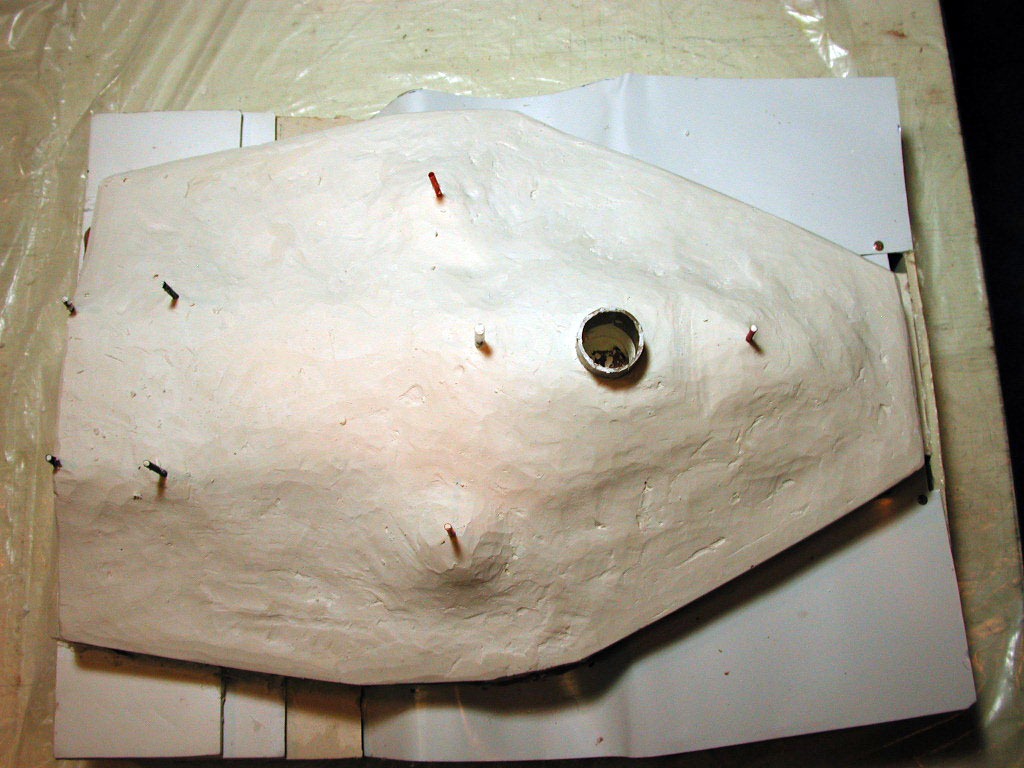
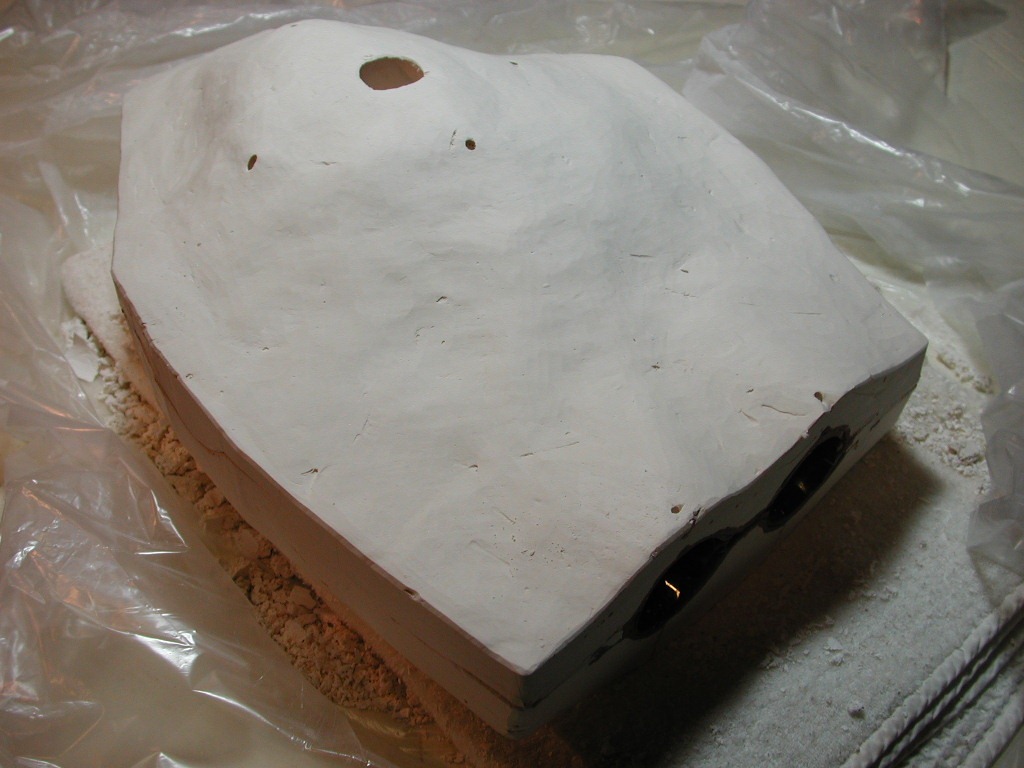
The box removed, and the plaster shell mold smoothed.

 e_cyclbackplaster

f_cyclbackplaster

I’ll just let it cure, dry, and harden up a little longer, so when I split the two half apart, very gently, I won’t crack either half. The clay underneath undulates a lot, so removing the shells evenly, in one piece, using small wooden wedges, will be  a trick.

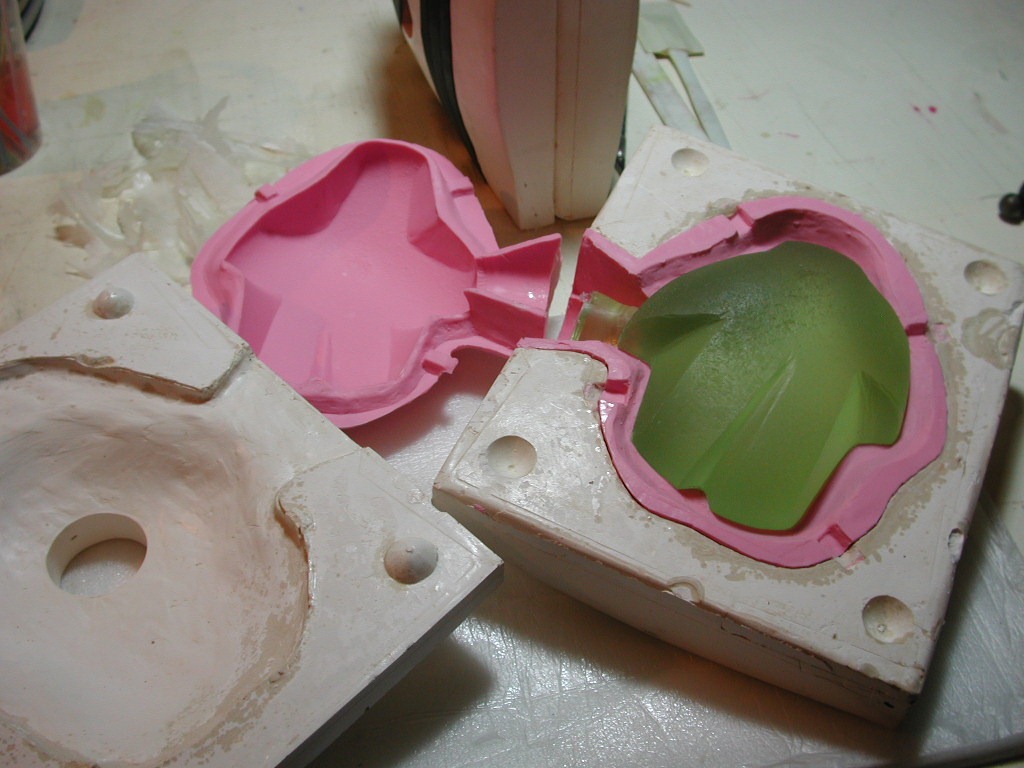
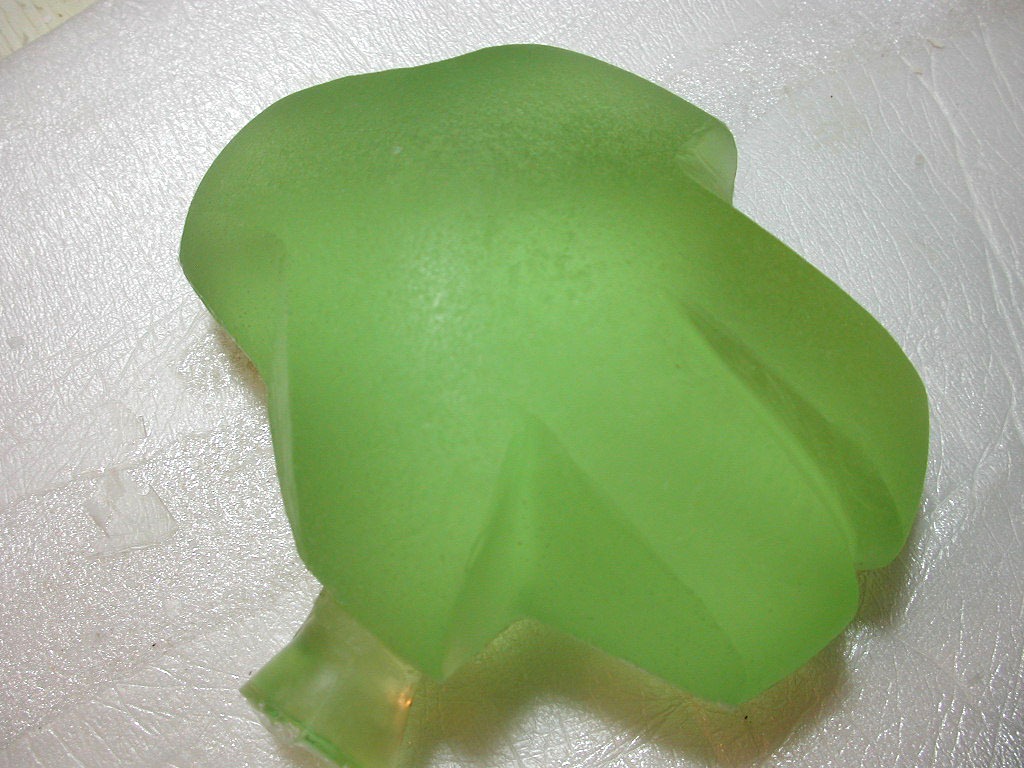
Meanwhile, on the side, to use up the free time, I cast the Beachstones molds I made last Fall in urethane resin. (The waxes I made earlier from these molds for bronze didn’t work out too well and I’m going to do them over, soon I hope.)

a_beachstonesplastic

b_beachstonesplastic

It still needs finishing, but I’m very please with the way it turned out – that’s saying it came out looking like I’d hoped – like beach-glass, you know, that sand-smoothed broken glass you find at the beach. Look forward to more.

Back plaster

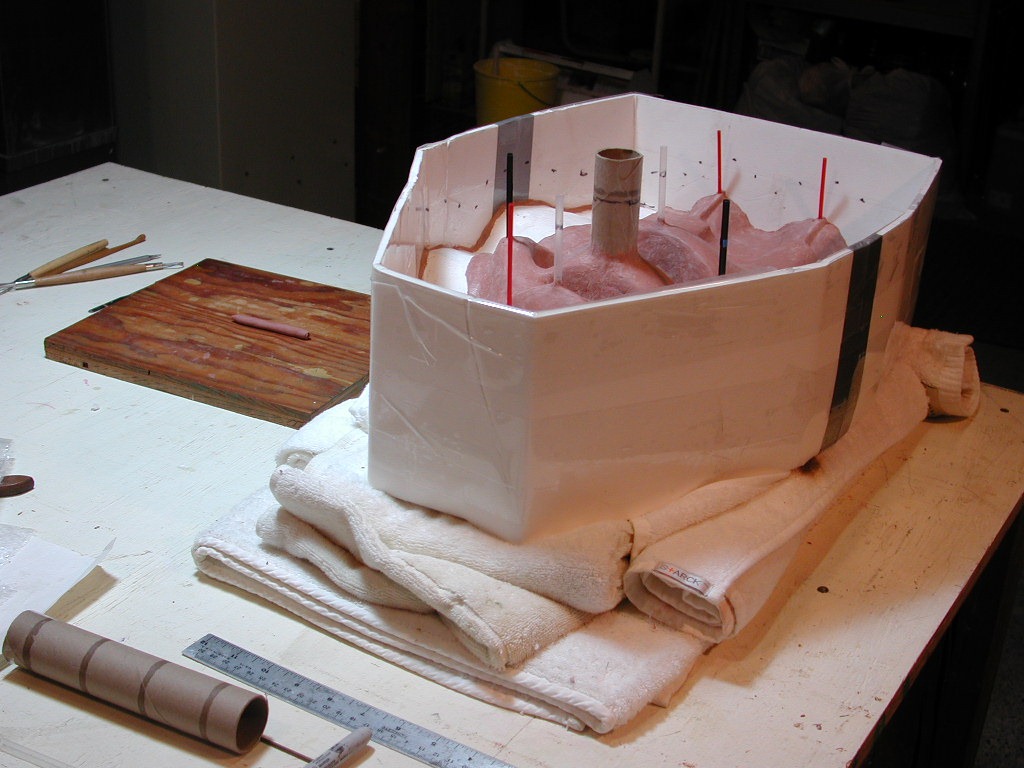
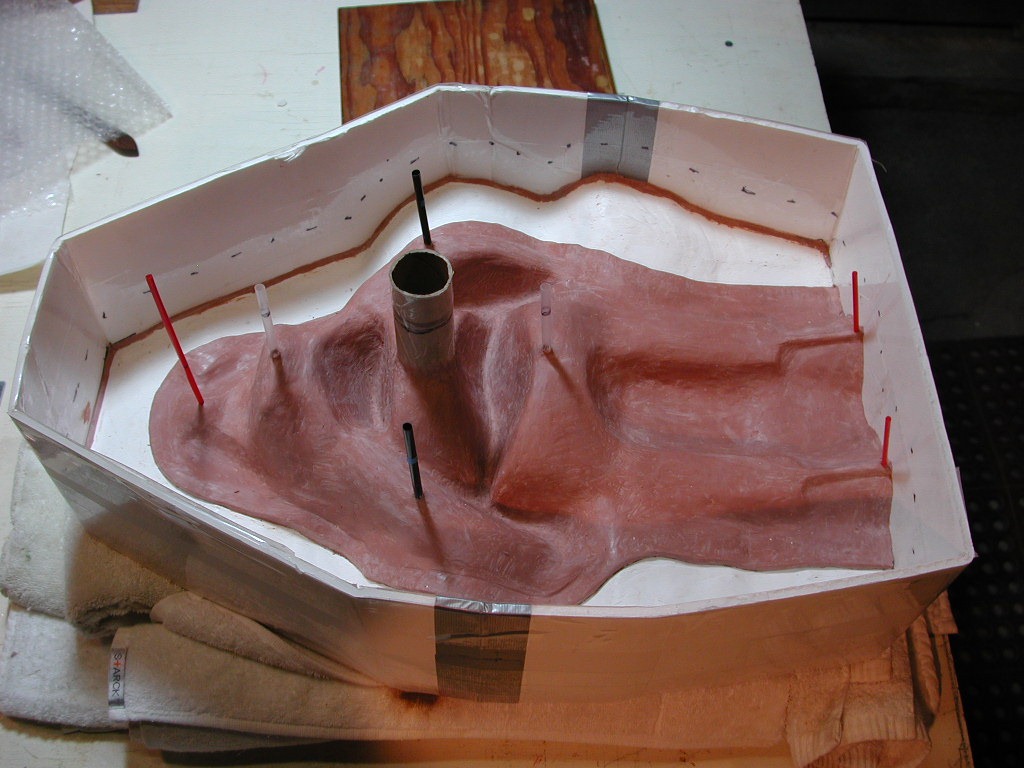
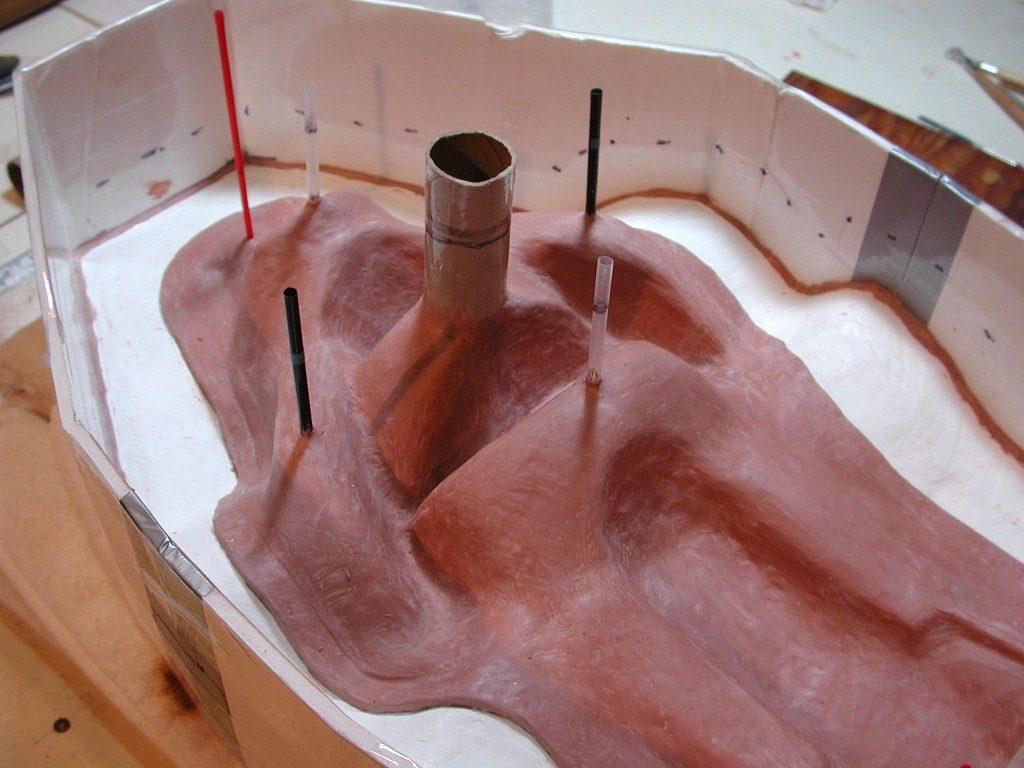
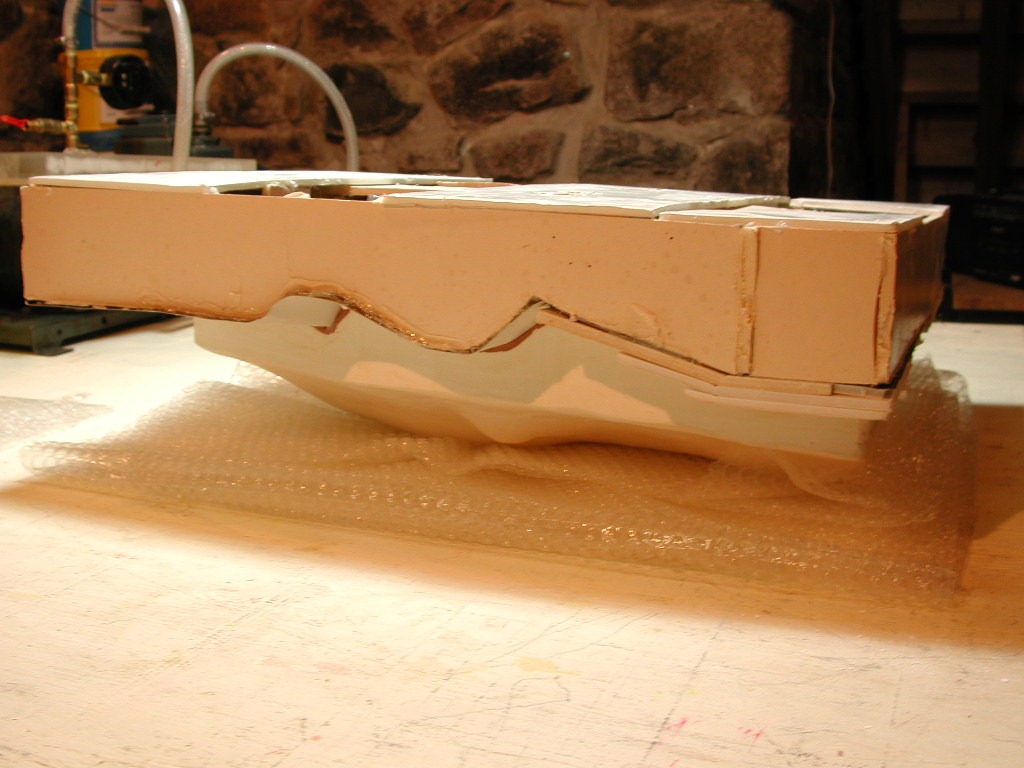
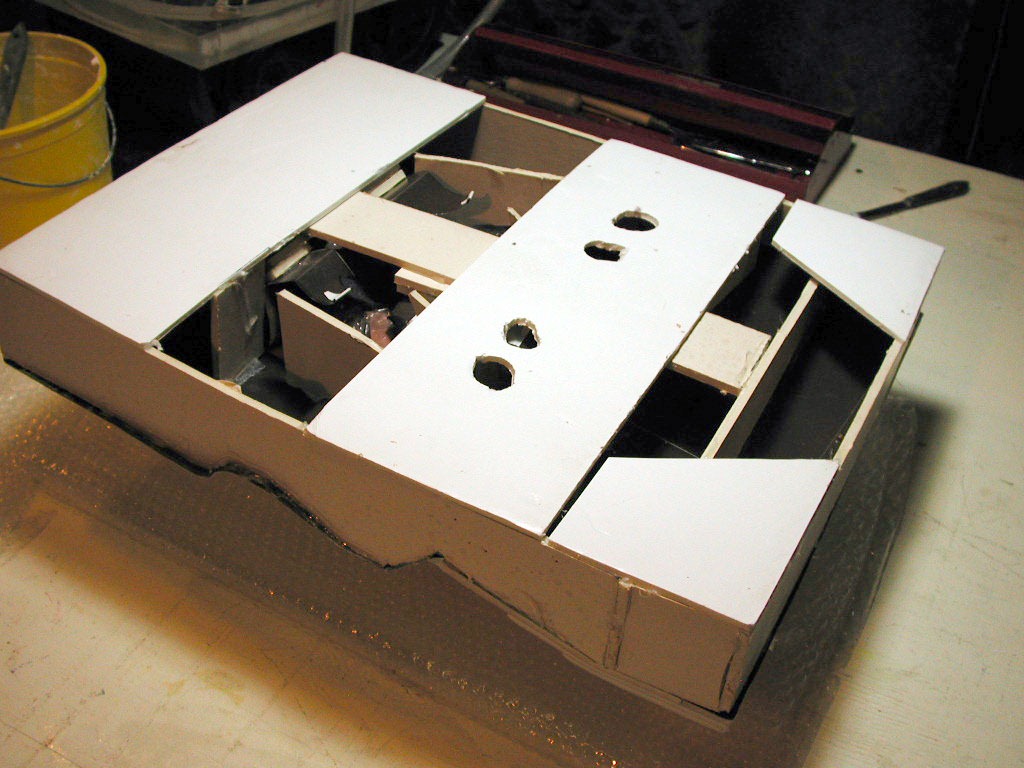
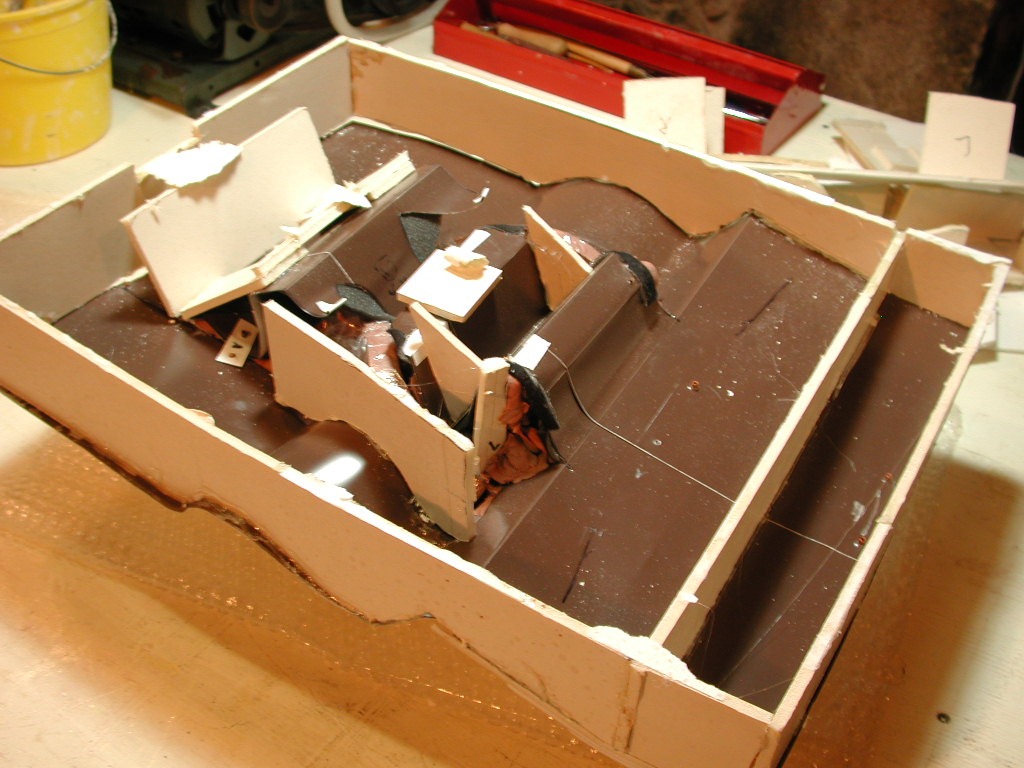
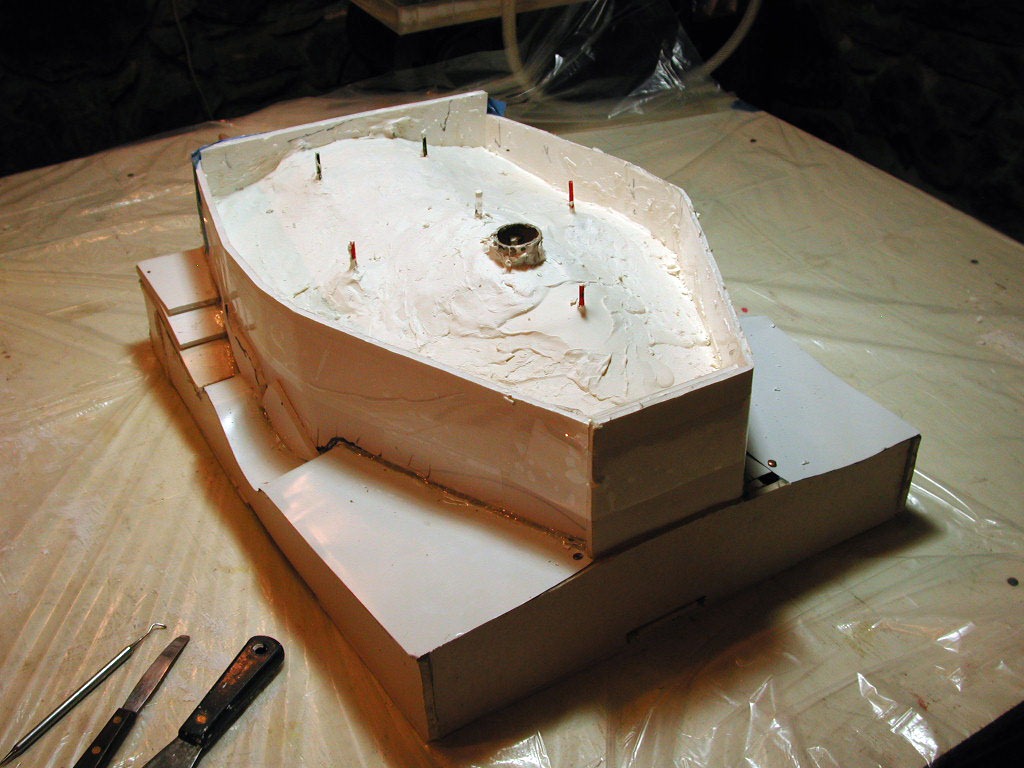
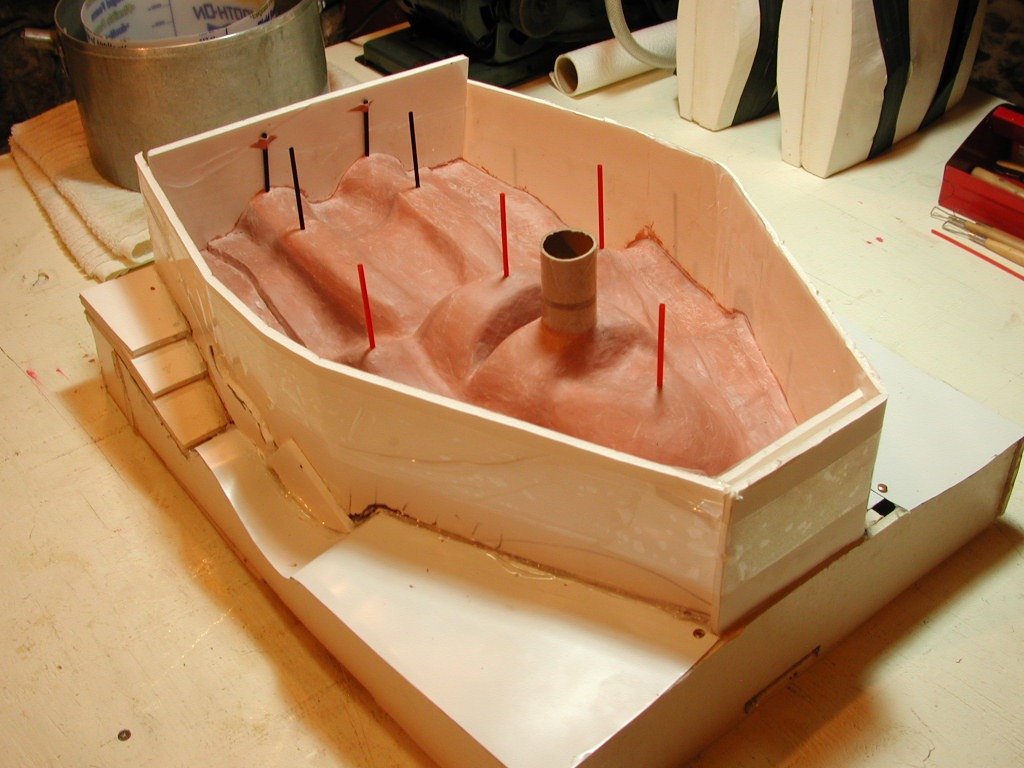
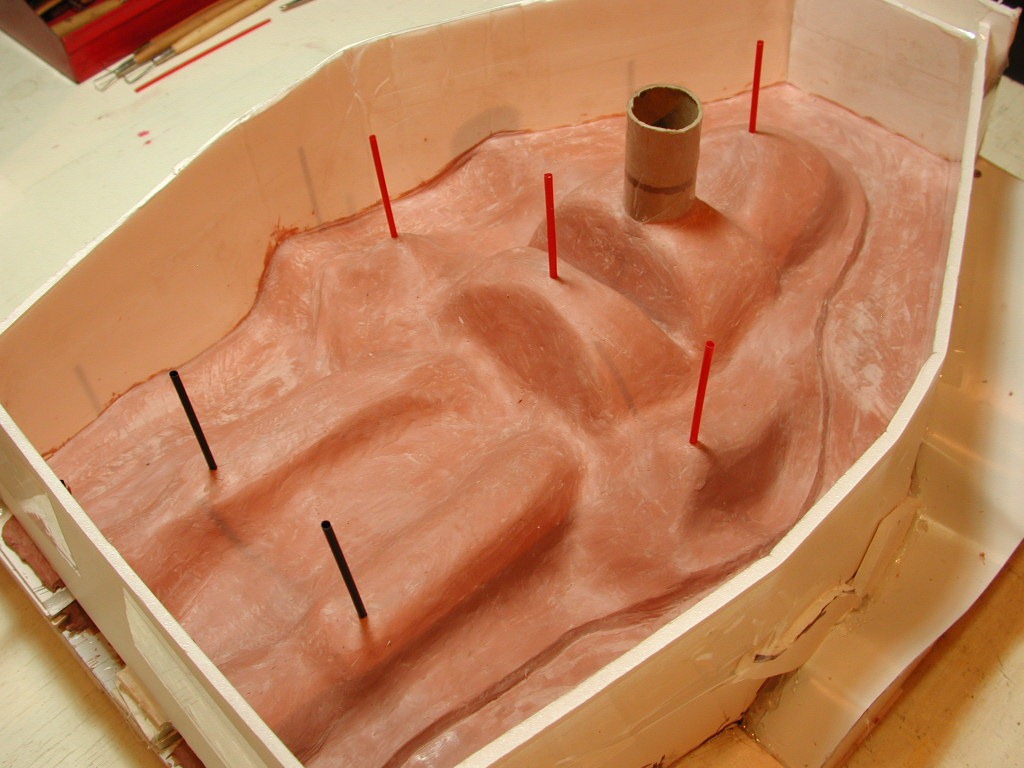
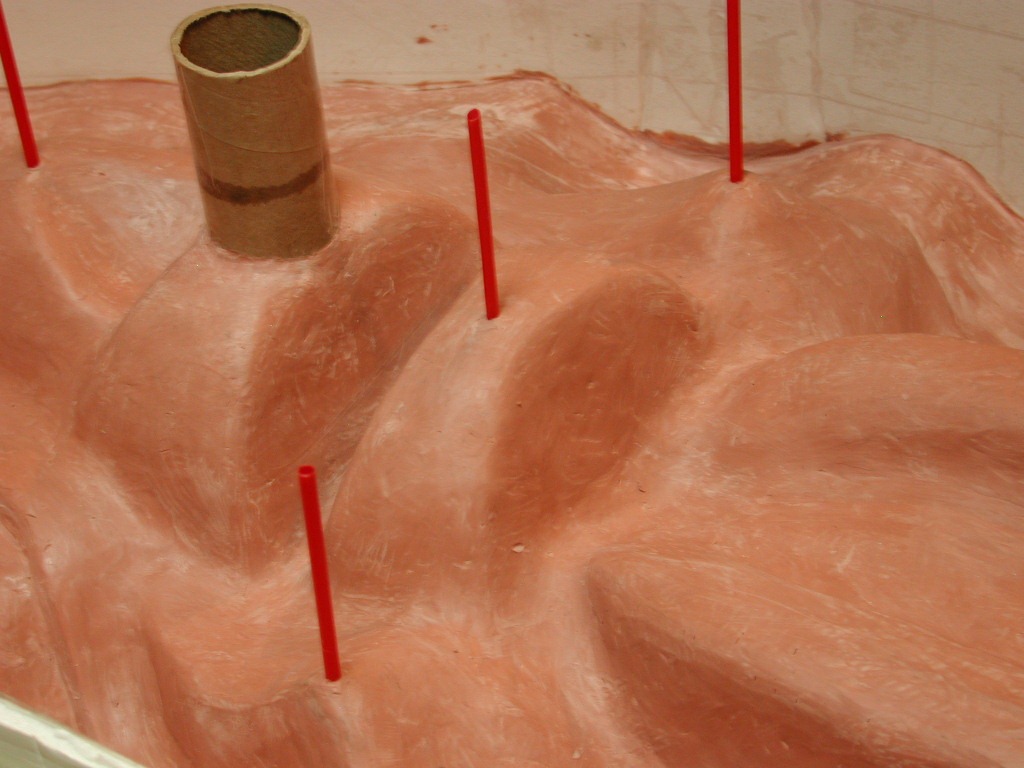
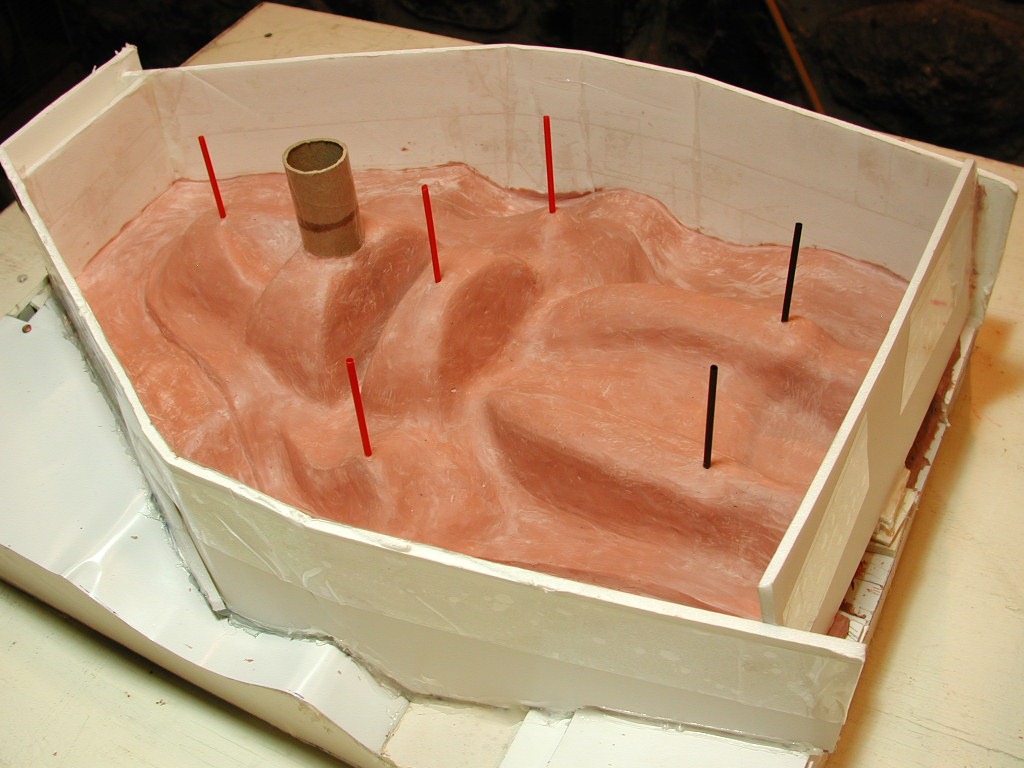
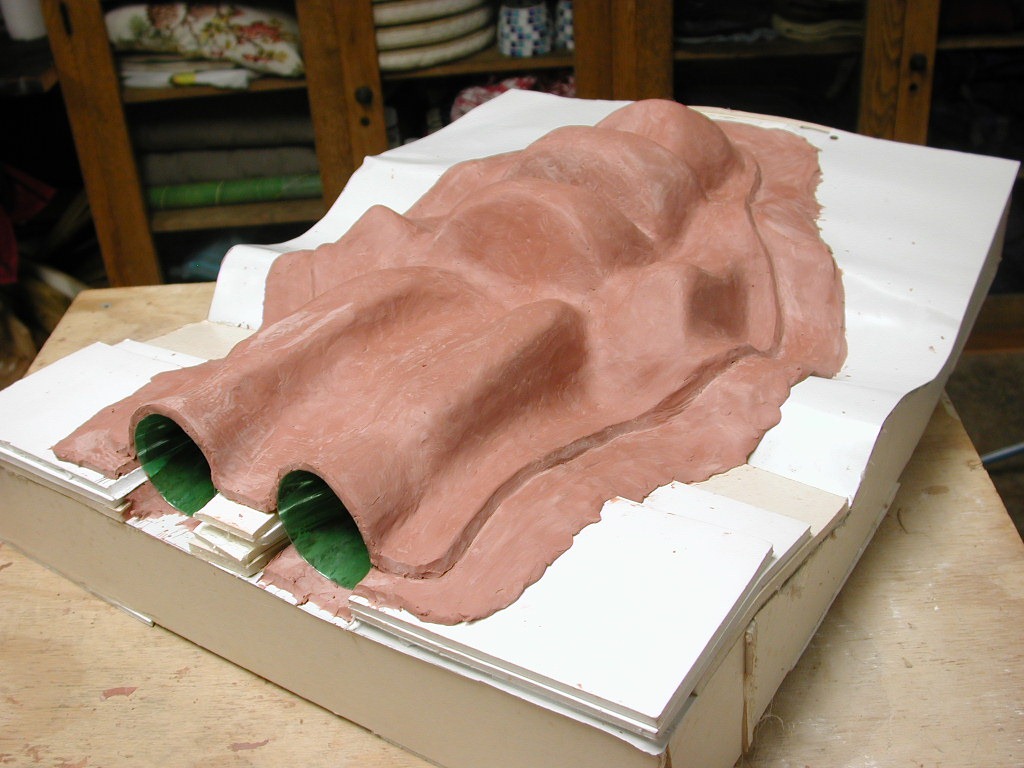
I boxed up the mold, preparing to pour the plaster for the back side. I just build this quickly using foam-core, hot glue, and tape, lots of tape. I seal the inner seam of the box with clay where it meets the front side plaster so there is no leaking out of the new plaster. I line the inner side of the box with packing tape to release the plaster. I added the sprue and vents for the silicone to eventually pour into, in the form of cardboard tubes and soda and cocktail straws, but that step is still a way off (the clay under the plaster will be removed and replaced with poured-in silicone, forming an inner blanket which is supported by the solid plaster outer mold). It’s a lot of details with not much to picture.

a_cyclbackplaster

b_cyclbackplaster

c_cyclbackplaster

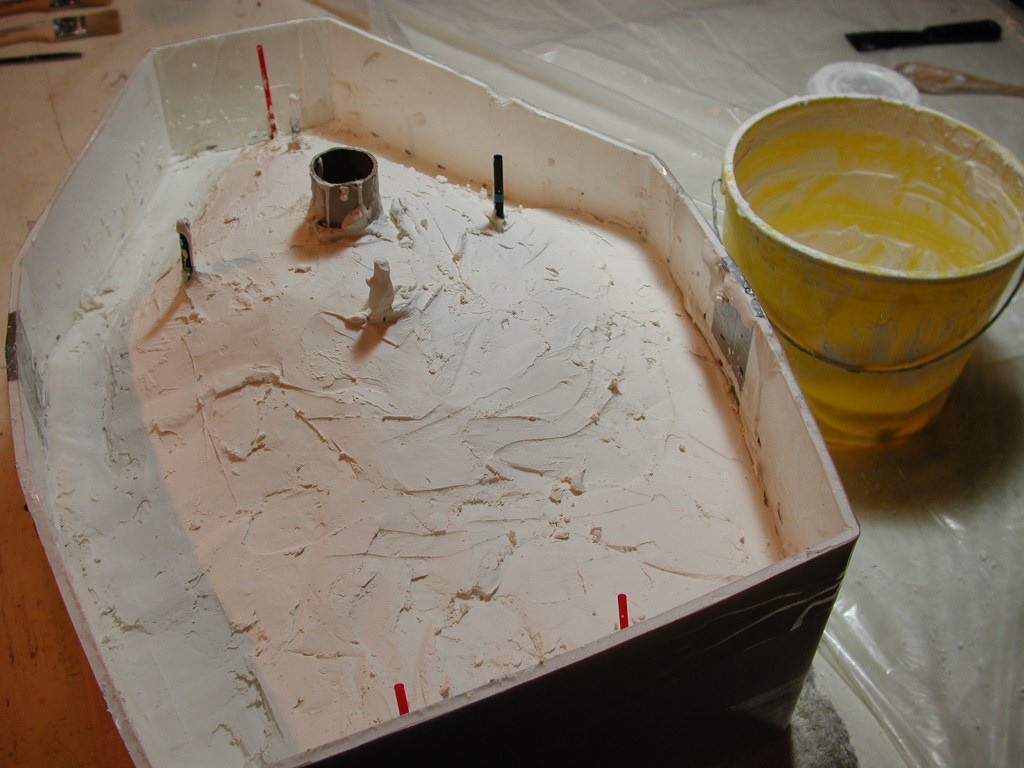
Mix the plaster, something I’m not showing you, pour it on and shape it up. You can see some markings above which I use to estimate the thickness I want from the plaster.

d_cyclbackplaster

I’ll let this dry a few days, take away the box and smooth it out some more.

It is a relief to be at this point. I’m maybe halfway done, but some of the most critical planning and preparation steps are complete now, and if I’ve done this correctly, most of what follows will be clean straight-forward work without anxiety.

Back blanket

It’s been a while. Went snowboarding in Wyoming with my brother-in-law, his wife & my remarkable niece. What fine hosts, and I had the greatest time there. I’d been to the Tetons many times in the summer to hike and climb, but this was my first time there in winter to snowboard. An excellent variety of terrain, rugged and scenic. I miss those days when I would lose myself in nature & the dissolution of the self, but after being so out of my head there and on return, I and ready to get back to work on this. The few people following this blog have told be they have in fact no complete idea what the process is here I’m illustrating; and how I can focus so much seeming effort upon it?

It is the complexity of it all which lets me lose myself in the work.

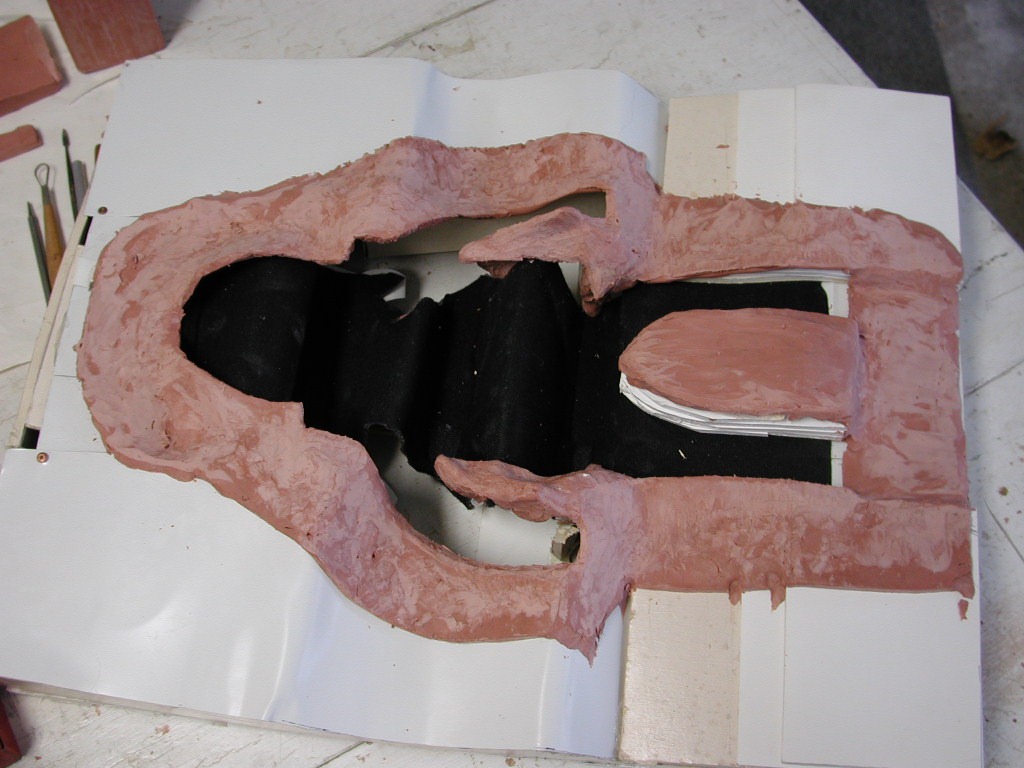
Here’s the first side again, now trimmed back from the edges to expose the plaster surface and match the extent of the first side blanket, which of course you can’t see, so it’s helpful to have pictures to refer back to. The new second plaster side will match face-to-face with the exposed plaster, creating a shell, or mother mold, within which the silicone mold is supported.
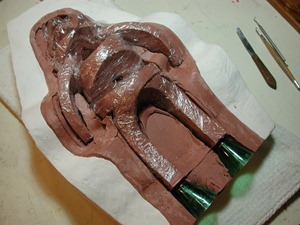
a_cyclblanketbackside

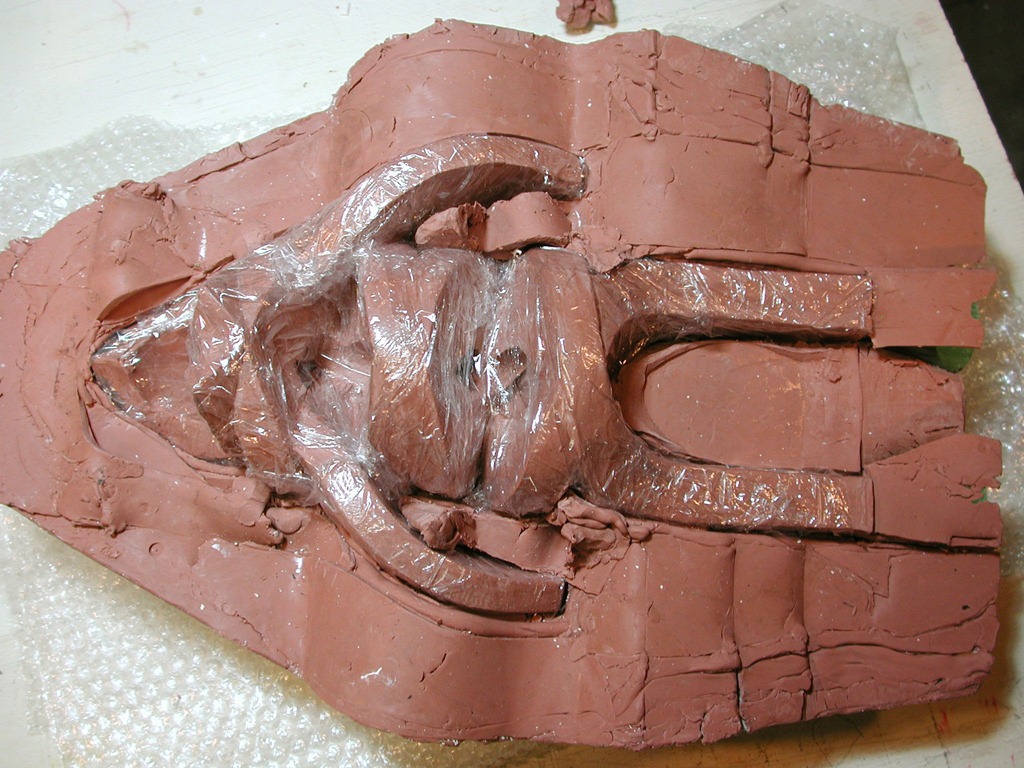
Another clay blanket is made now for this, the back side of the model. Again, these are sheets of clay not more than 3/8th inch thick, laid on the model.
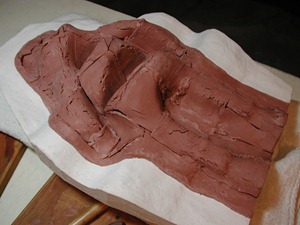
b_cyclblanketbackside

After a rudimentary smoothing-out. This layer will become the shape of the silicone mold rubber to eventually take its place, and the second side plaster will be poured on top of it, so it must not have any undercuts to interlock with the plaster.
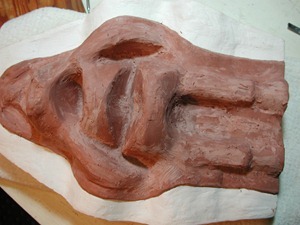
c_cyclblanketbackside

The nearly final form of the blanket.
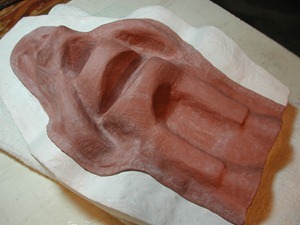
d_cyclblanketbackside

Next, I create the sprues and vents for where the silicone will (eventually) pour in, and box it up all around (again) so the plaster can be poured on.

Cradle remove

a_cyclcradleremove

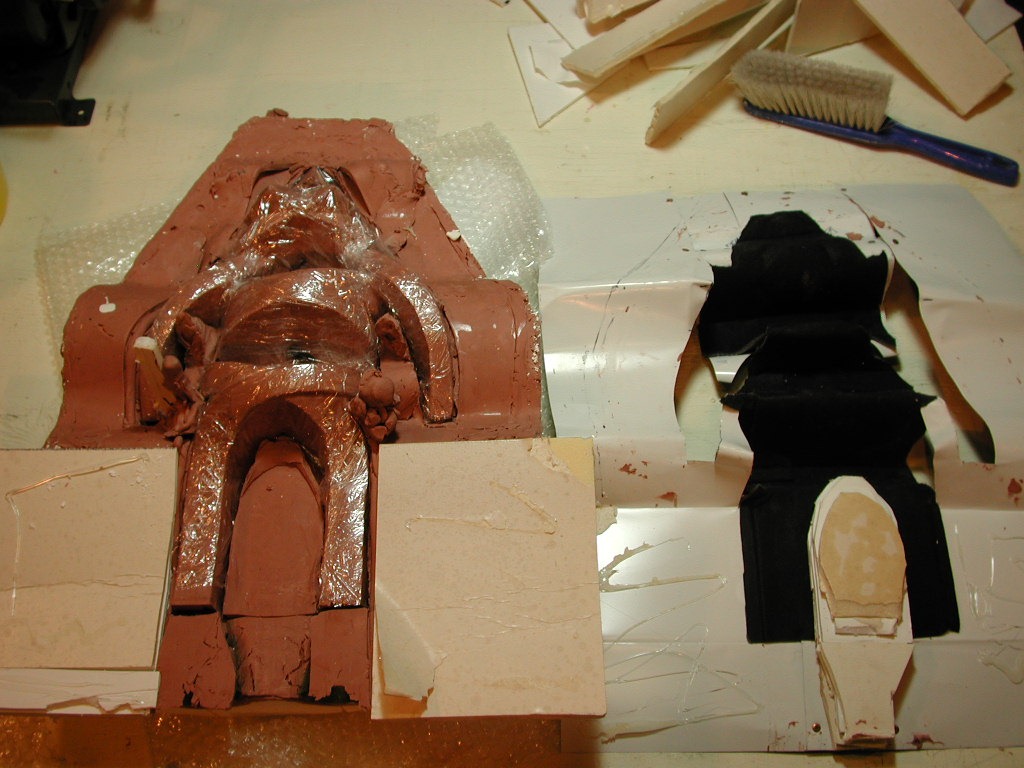
The first half of plaster is finished. Now I flip it over and remove the cradle. The front-side plaster now serves as the cradle for the work.

b_cyclcradleremove

The cradle is removed in pieces and carefully pulled back from the clay blanket which remains in place against the plaster and surrounding the model. Toss out the cradle thankfully, for the work it did.

c_cyclcradleremoved_cyclcradleremovee_cyclcradleremovef_cyclcradleremoveg_cyclcradleremove

h_cyclcradleremove

The second side is ready to begin working on. Another clay blanket and plaster will be made to enclose this side of the model.
Front plaster

Mold release is liberally applied to the clay and insides of the box. I use a aerosol spray-on product made from halogenated hydrocarbons in ether, well-worth the money for it’s effectiveness and ease of use. The plaster is poured, shaped and formed over the clay blanket. Doing this deserves some more photos, but I am too involved to stop and take them. Mixing plaster and applying it is a skill I have only begun to get at all proficient. This is about 1.5 to 2 inches thick, about right, could be thinner.

b_cyclplasterf

Removing the foamcore box, I trim and smooth out the plaster with a palette knife. It is mostly pointless, but I can reduced the volume of the plaster shell a little, and anyway, it makes it look nice and feel better to handle.

d_cyclplasterf

f_cyclplasterf

Now it should cure for least several days to a week. The plaster continues to dry out and get stronger. I want to wait to separate the assembled three layers- plaster, clay blanket, and model, from the cradle, which will be the next step. Removing the cradle will put pressure on the plaster and I want to be sure it is as strong as it needs to be so it doesn’t crack.

Front boxed

Here I’ve boxed in the front half, preparatory to pouring the plaster mother mold half. It includes a pour sprue and vents at all the high spots.

e_cyclboxedf

It’s made from foam core, hot glue and packing tape. I think this is a way to work faster, and have a smaller plaster mold to deal with. I have usually made these boxes from wood, but this is easier to fit to the shape of the model. I hope it will be strong enough to support the weight of the liquid plaster. The inner surface of the foam core is lined with packing tape, and the whole clay surface will be sprayed with mold release before the plaster goes on.

a_cyclboxedf

Vents must release the air from the mold at every high spot, or the poured liquid silicone will not be able to fill the mold entirely. I may still add a second sprue; While the silicone is forgivingly self-leveling, this mold has so much topography that it may be helpful. I can also thin the silicone to help it flow more smoothly.

c_cyclboxedf

b_cyclboxedf

Front blanket

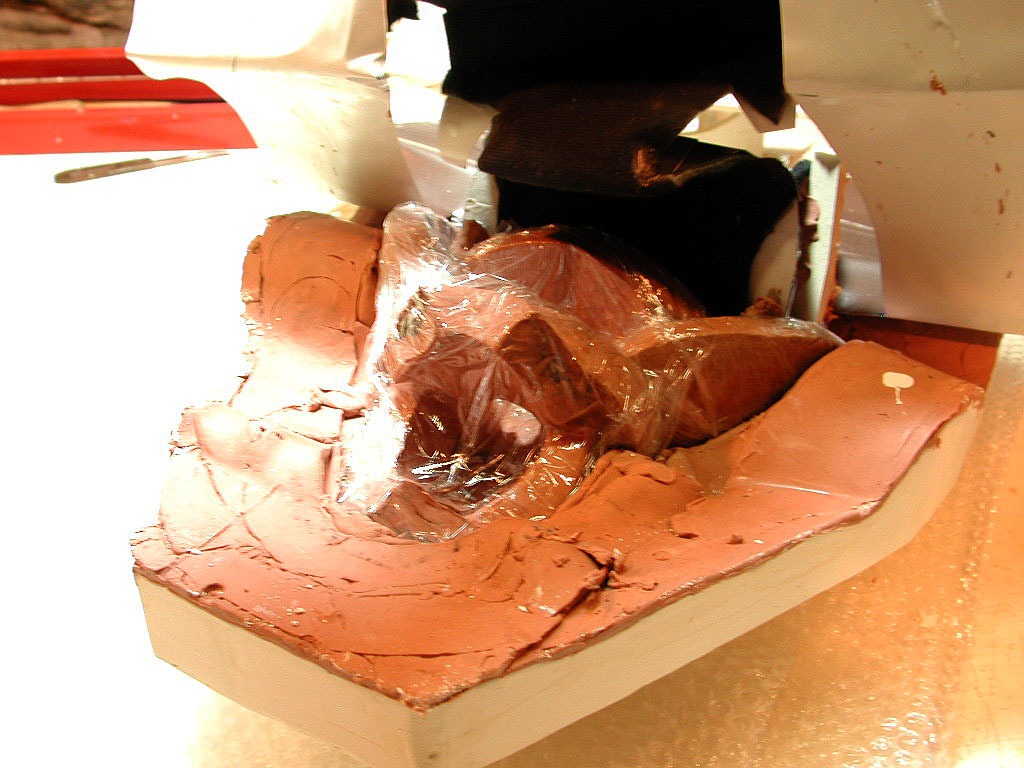
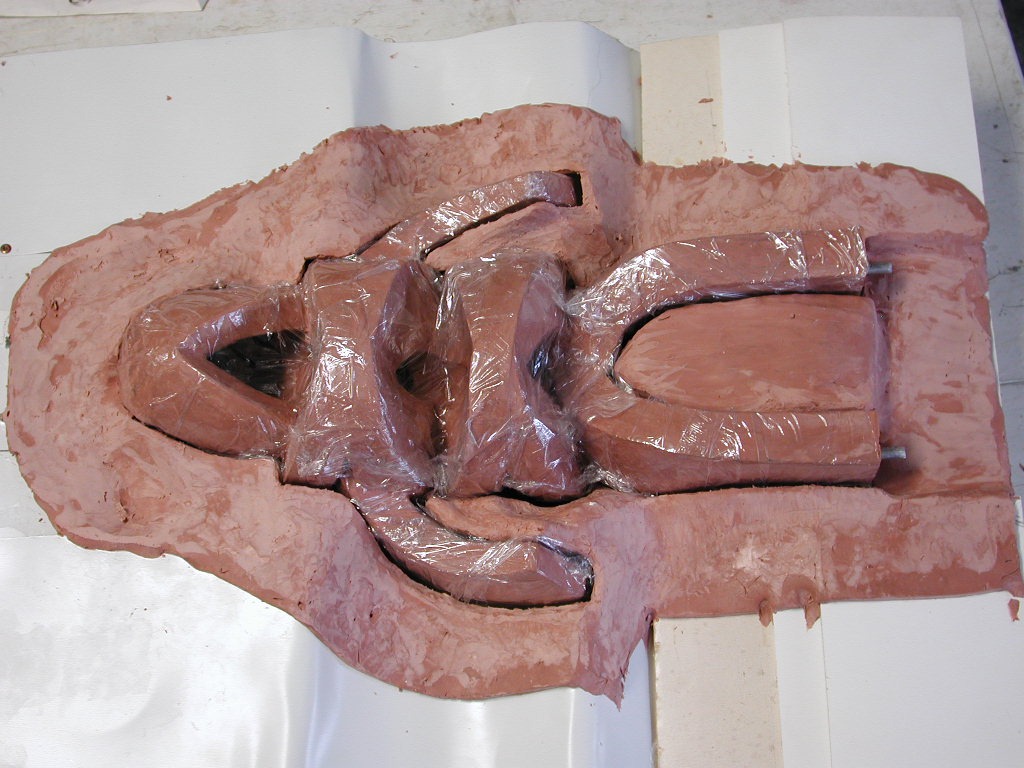
I’ve built out the parting line a little, to get a better sense of if this will work, especially between the body and the arms. This is all tentative. The real establishment of the parting line will take place later.

a_cyclblanketf

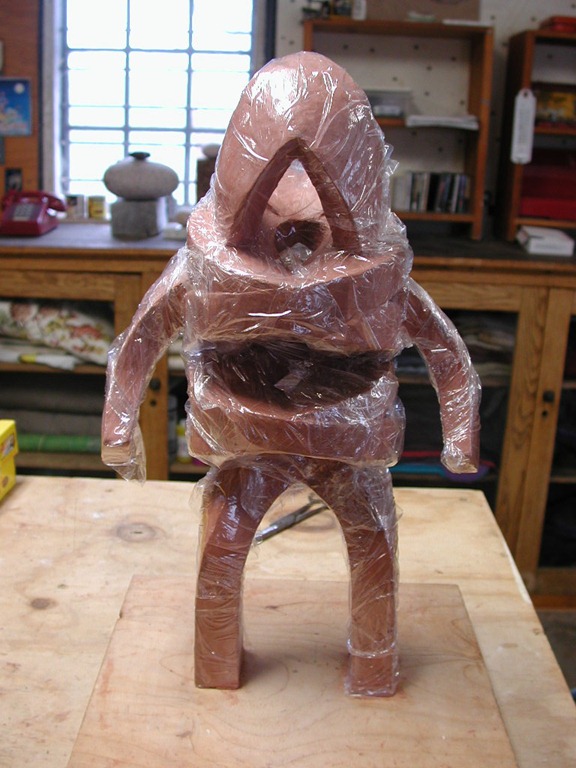
I wrap the model in plastic wrap to protect it from sticking to the clay blanket too much. This will come off later before I pour the silicone rubber inner mold.

c_cyclblanketf

And it goes back in the cradle.

d_cyclblanketf

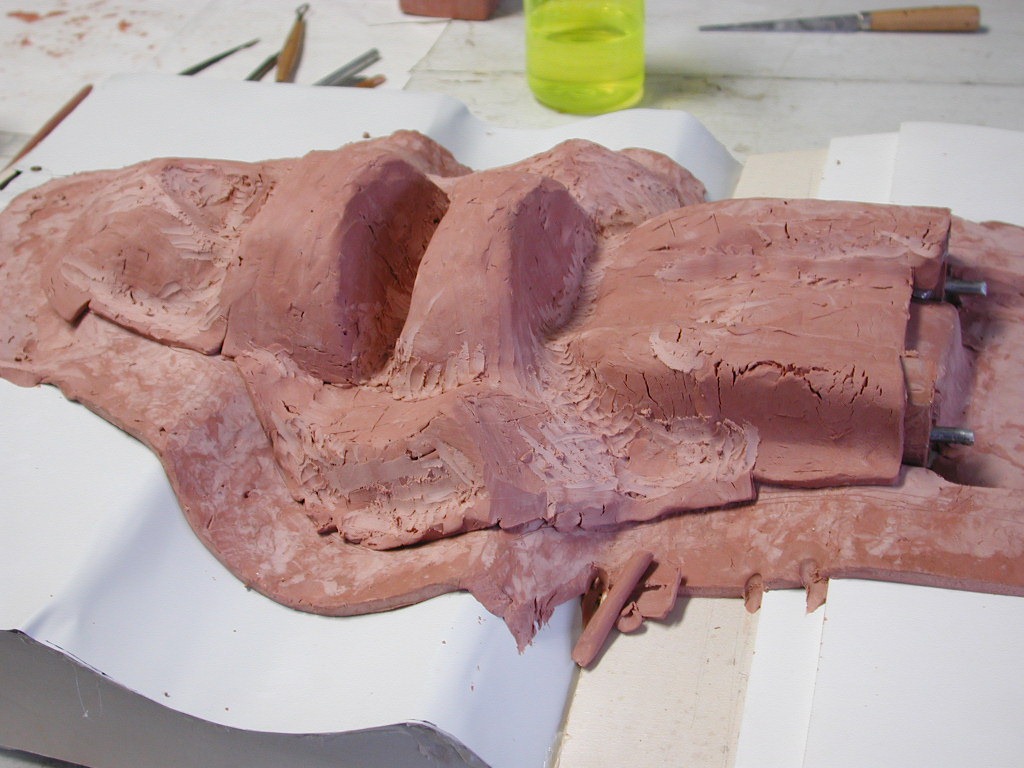
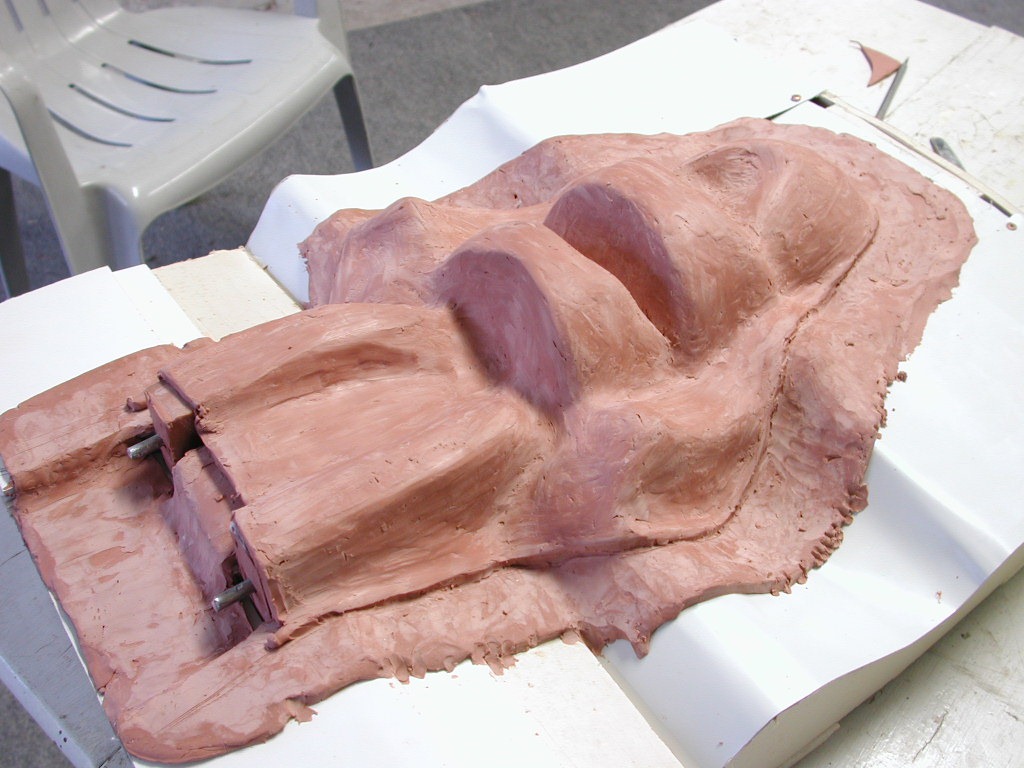
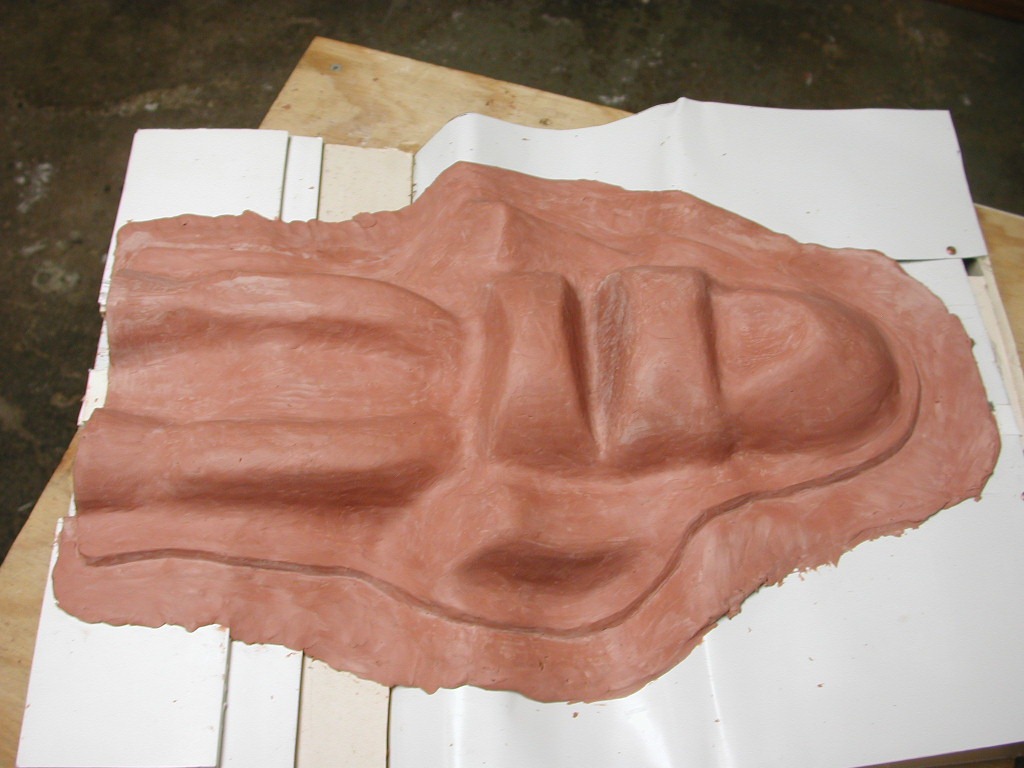
And I begin to cover it with a thin blanket of clay, about 3/8th inch thick. It is upon this blanket that the plaster mother mold will be poured. It is essential that there be no undercuts or catches which will bind the plaster to the clay surface, which itself will eventually be replaced by slicone rubber. As complex as my model is, I think this is evident to work OK.

e_cyclblanketf

g_cyclblanketf

h_cyclblanketf

m_cyclblanketf

Along the way I create the pour spouts. Vents will get included later, when I’m doing the parting line. Still some ways from that now.

k_cyclblanketf