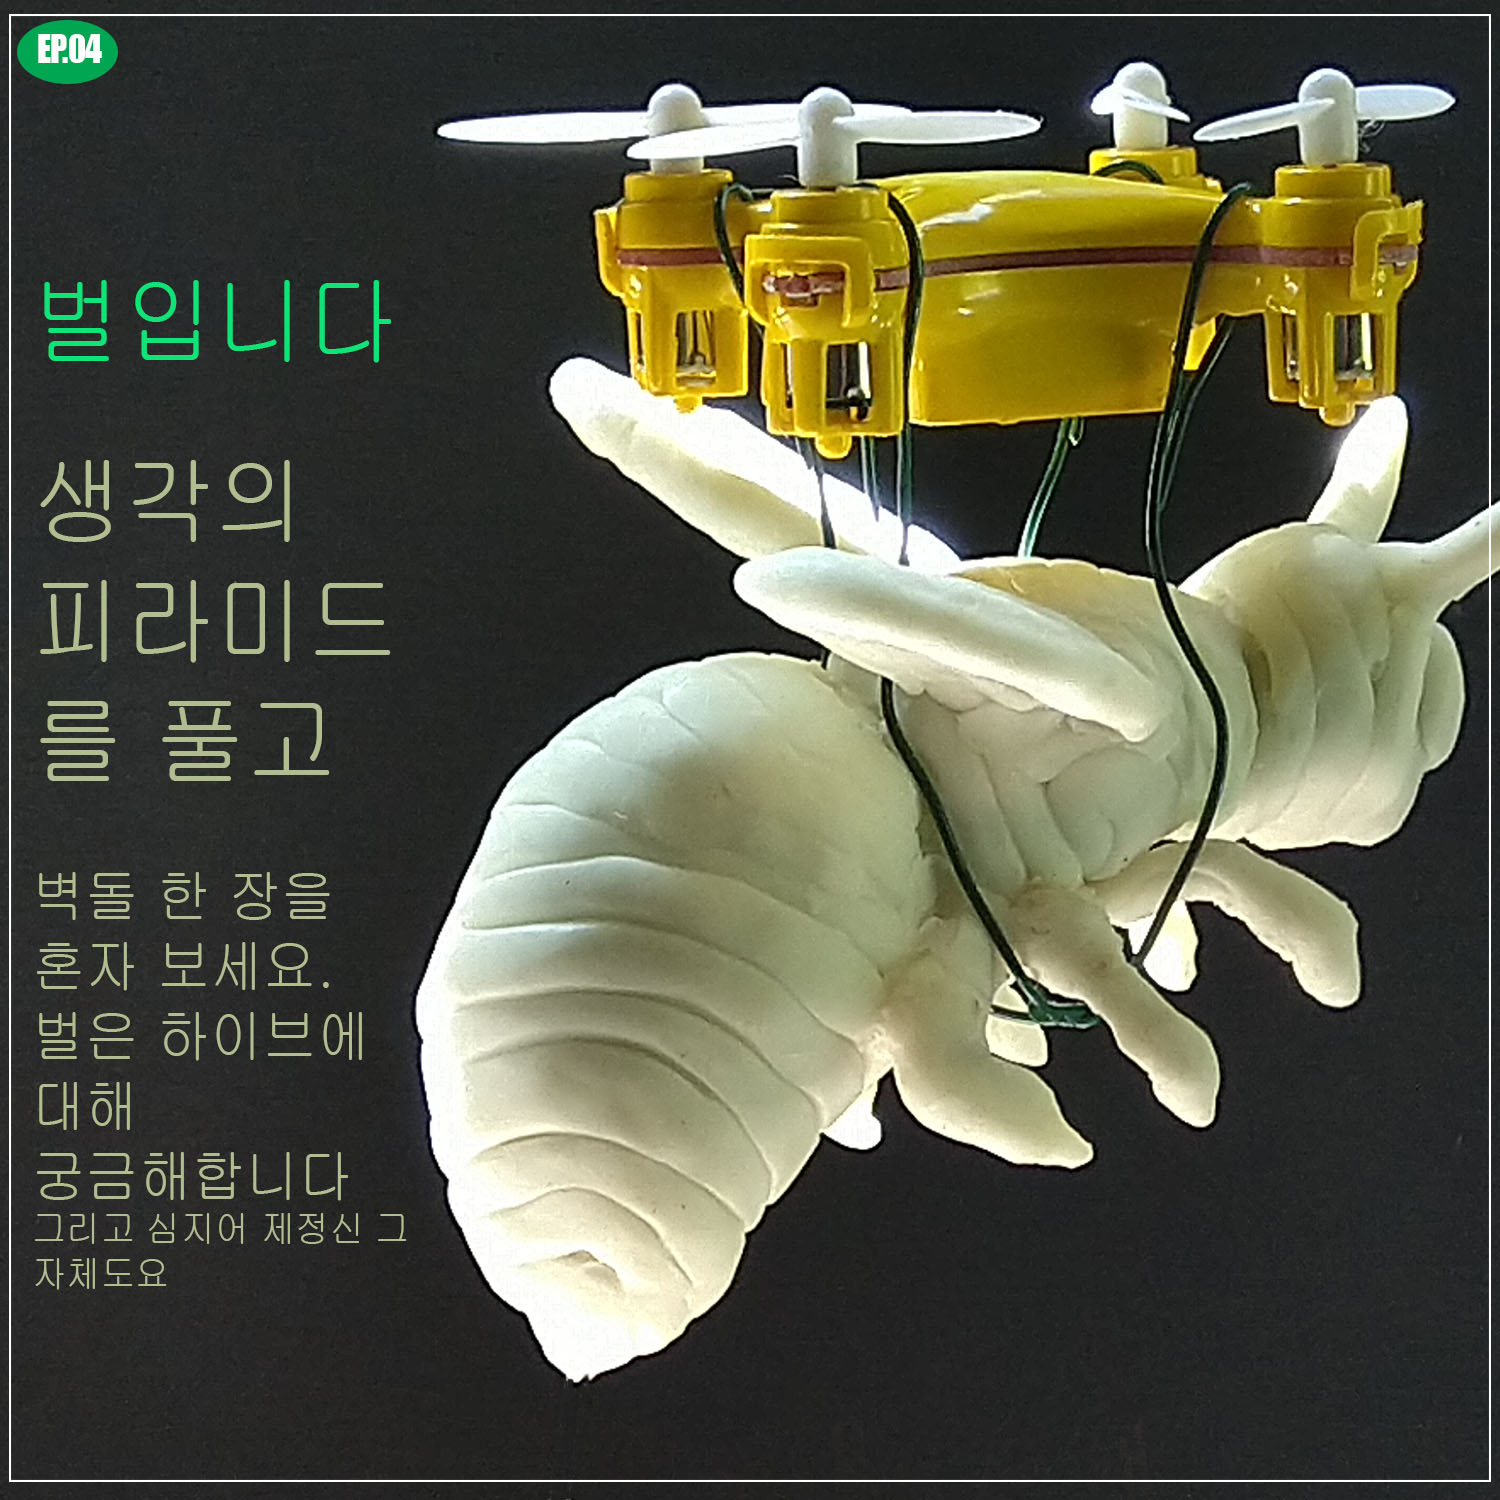
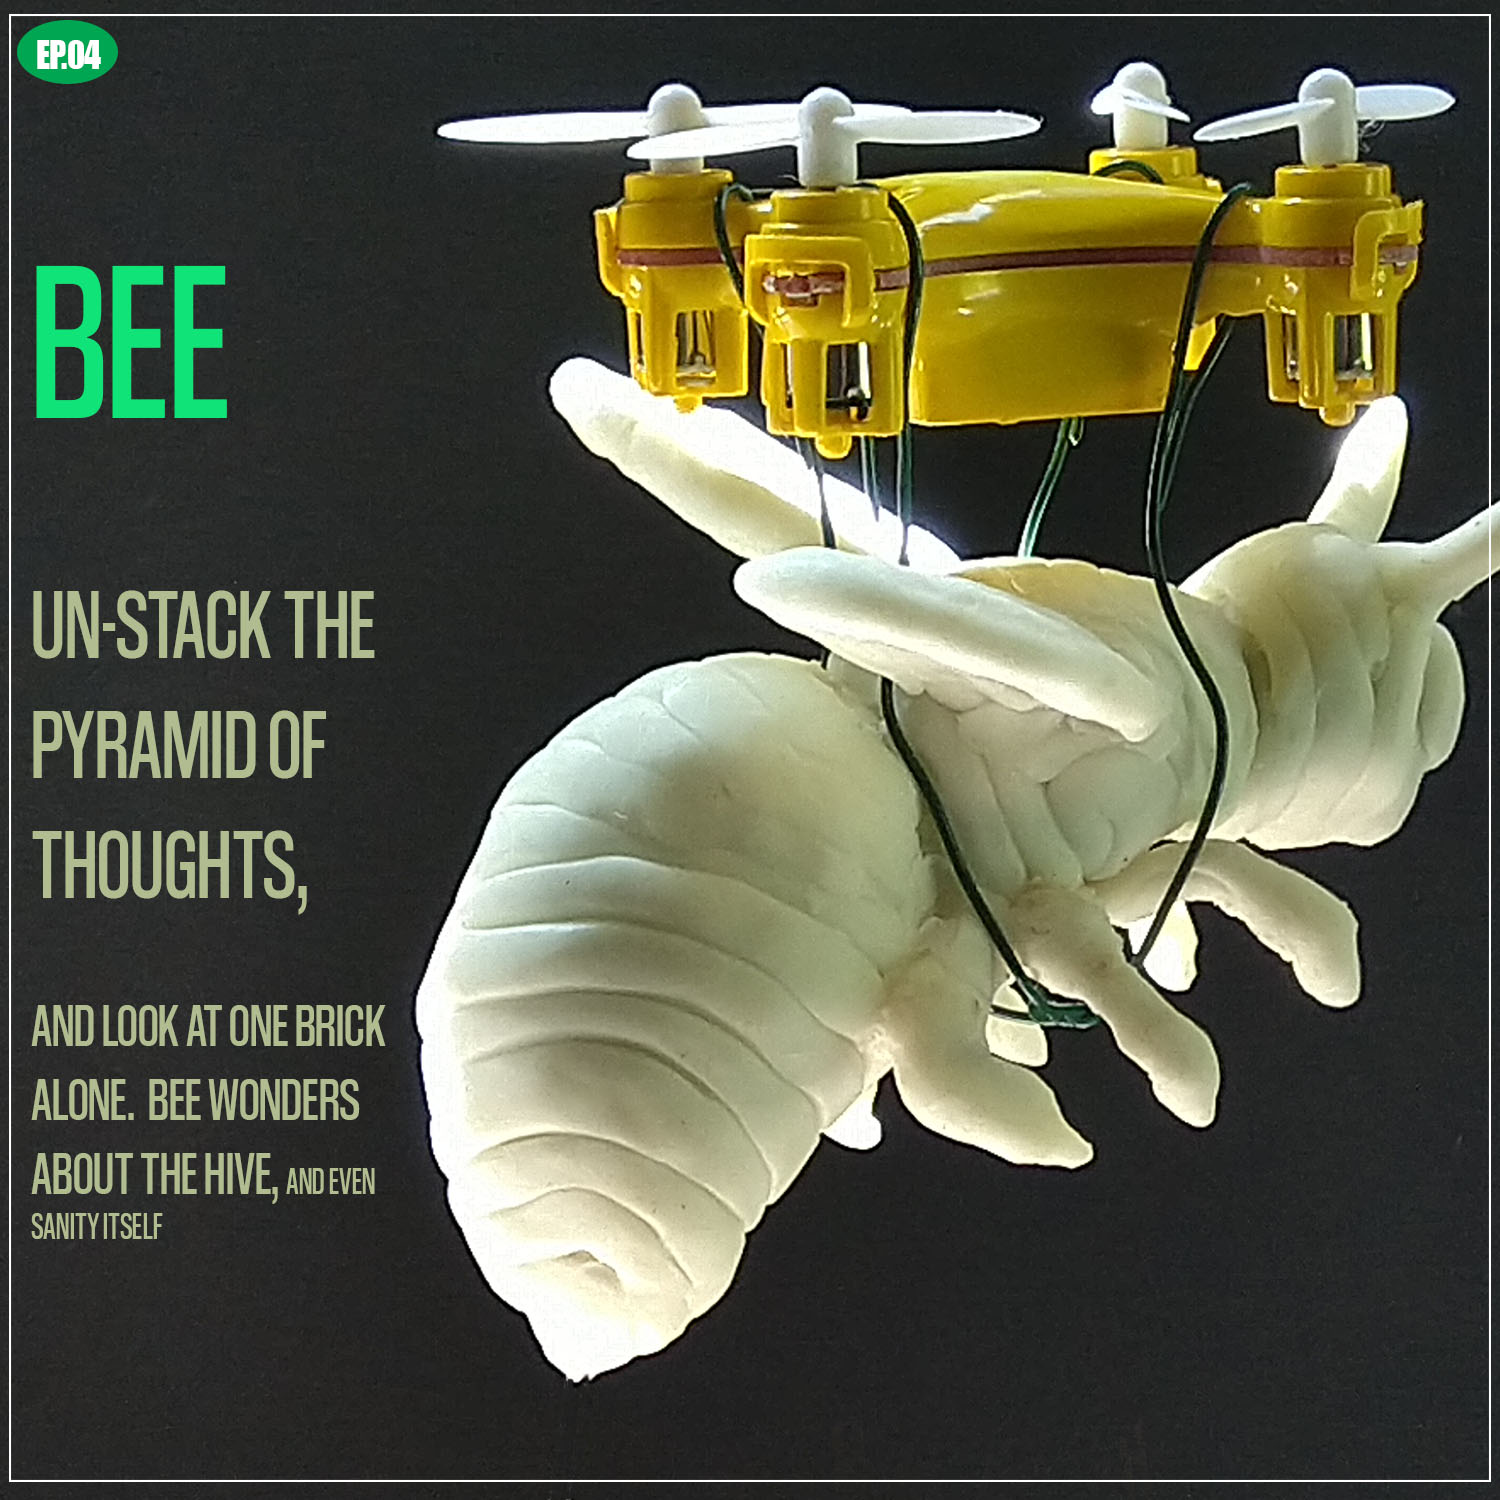
Un-stack the pyramid of thoughts, and look at one brick alone. Bee wonders about the Hive, and even Sanity itself.
Un-stack the pyramid of thoughts, and look at one brick alone. Bee wonders about the Hive, and even Sanity itself.
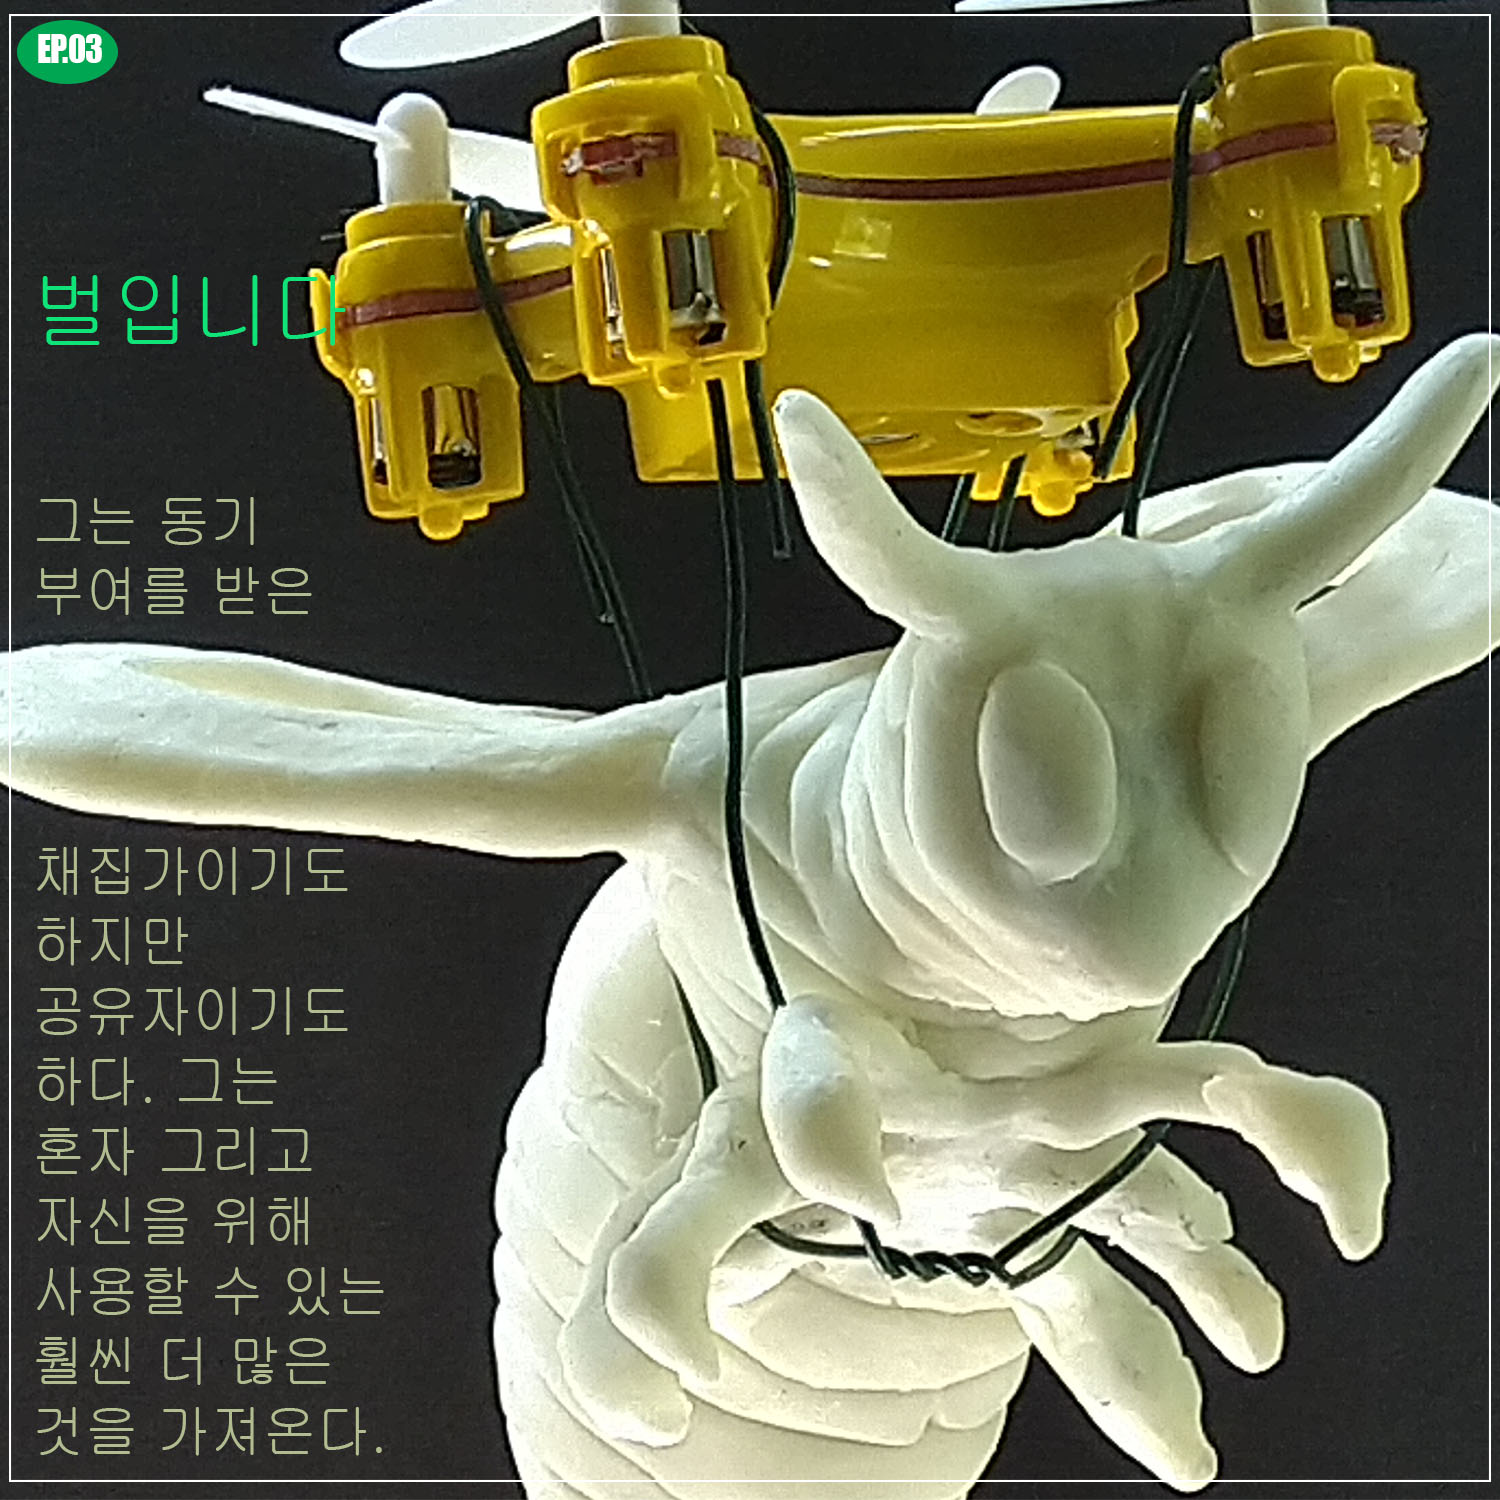
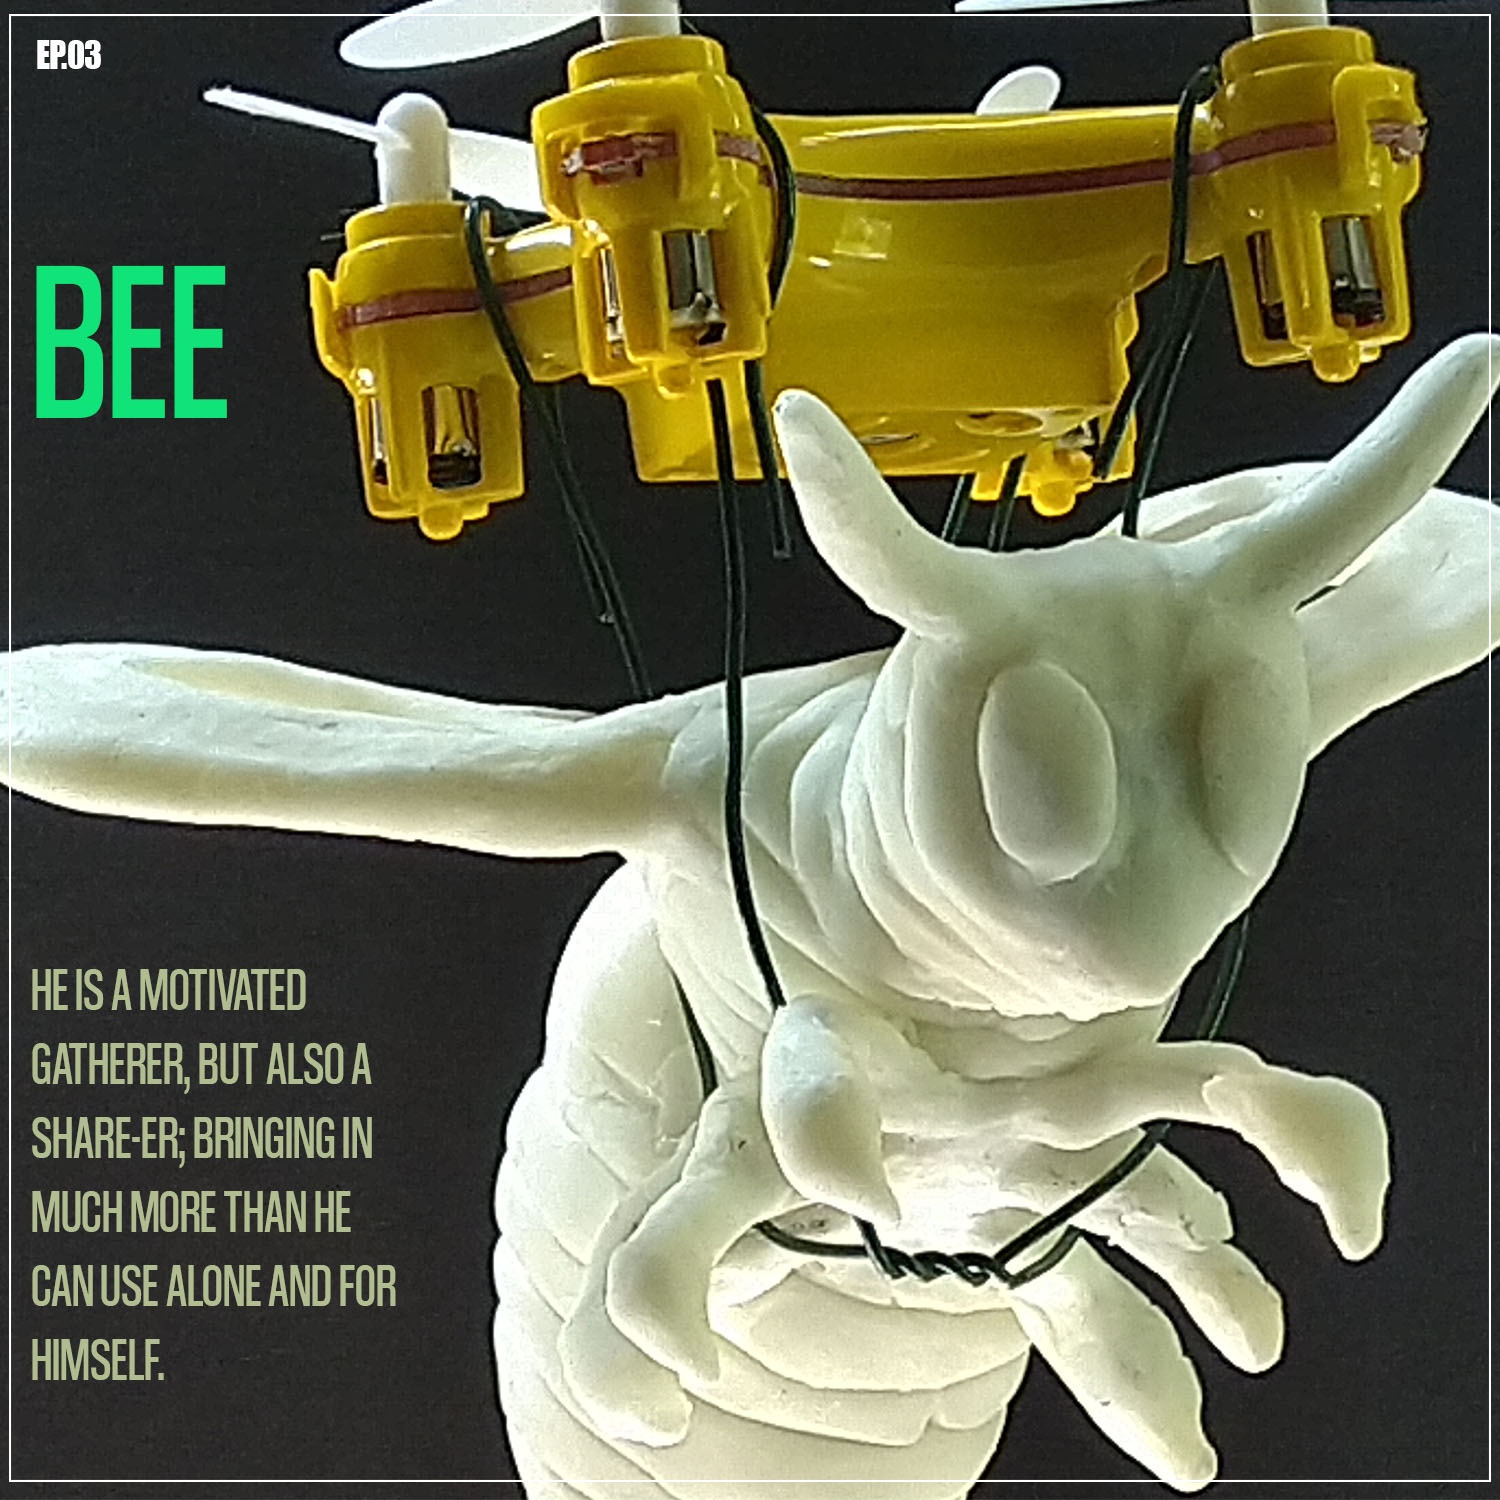
*Bee Ep.03* He is a motivated gatherer, but also a share-er; bringing in much more than he can use alone and for himself.
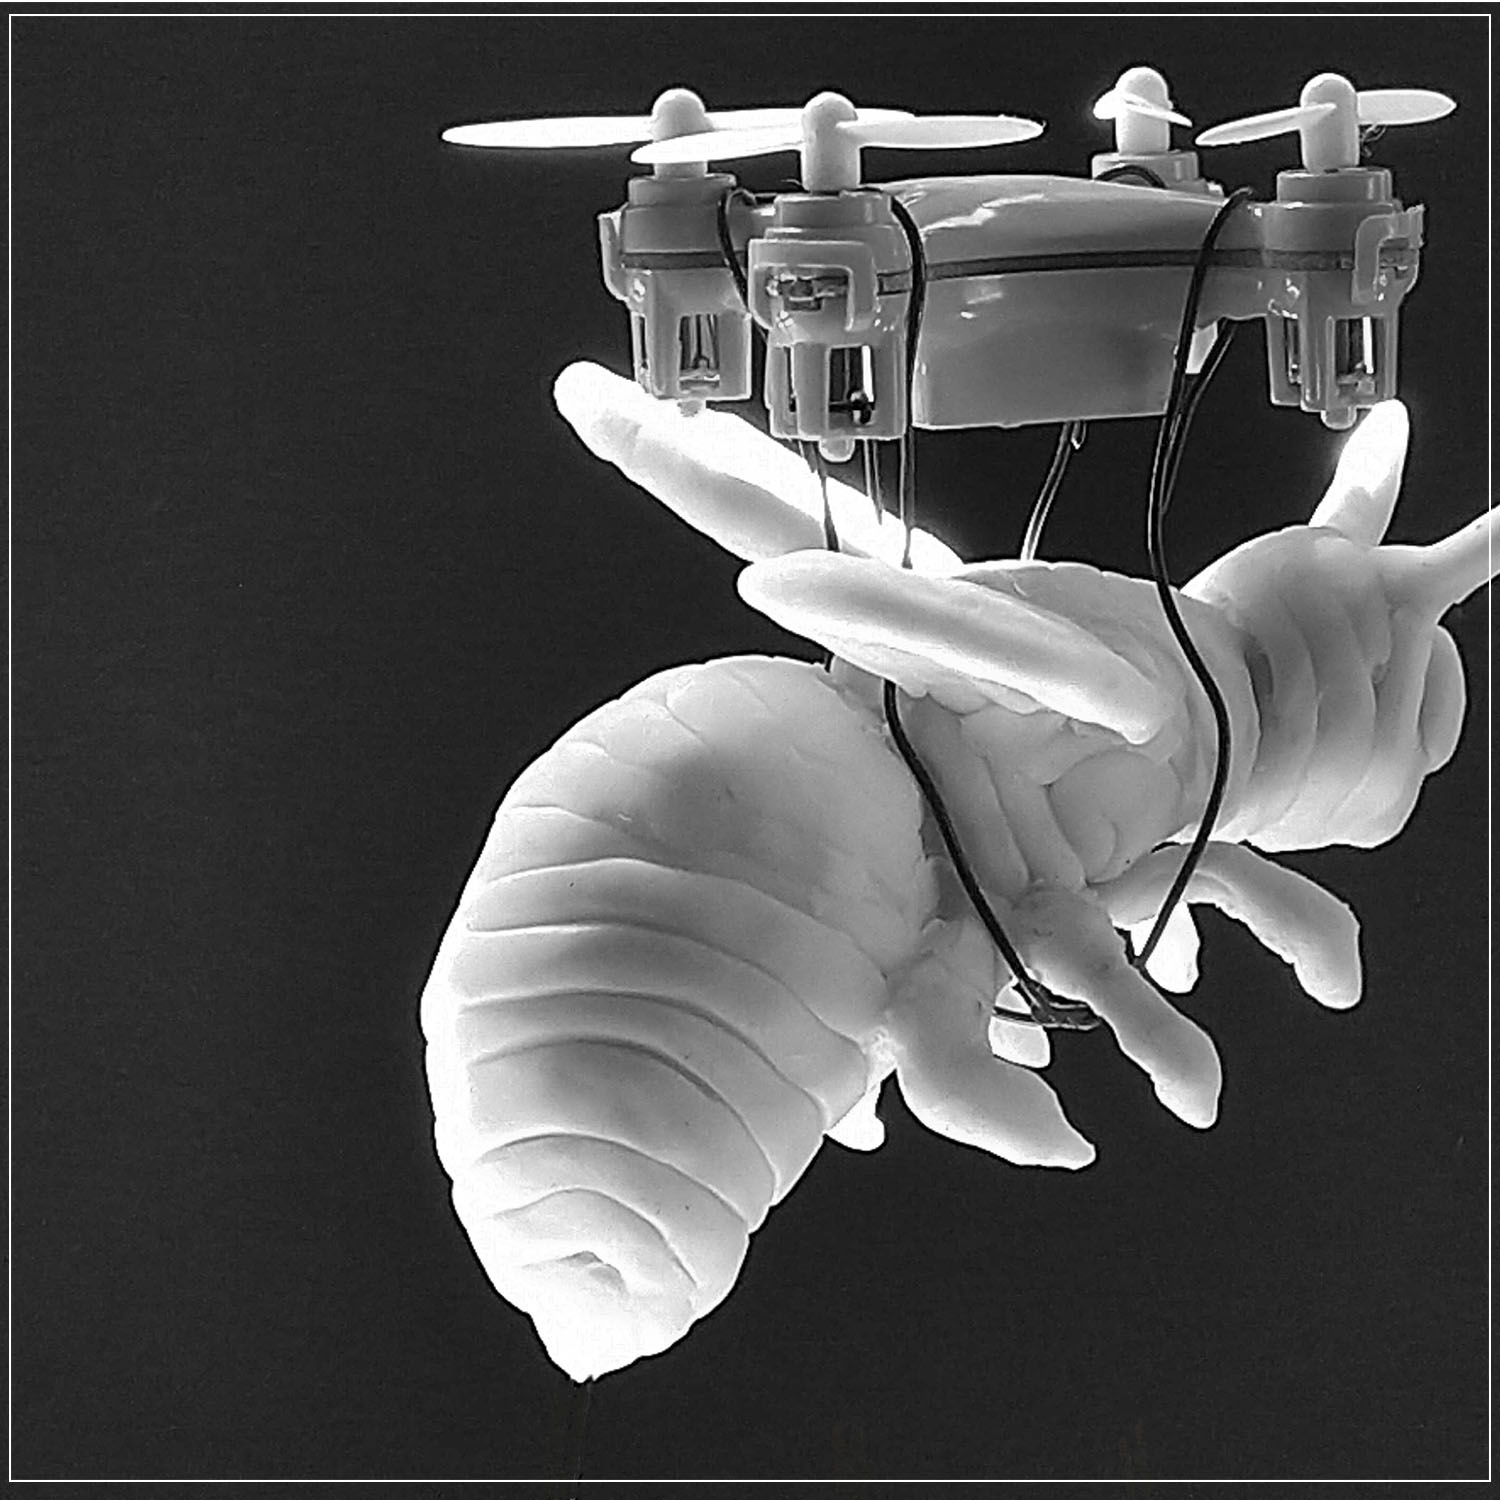
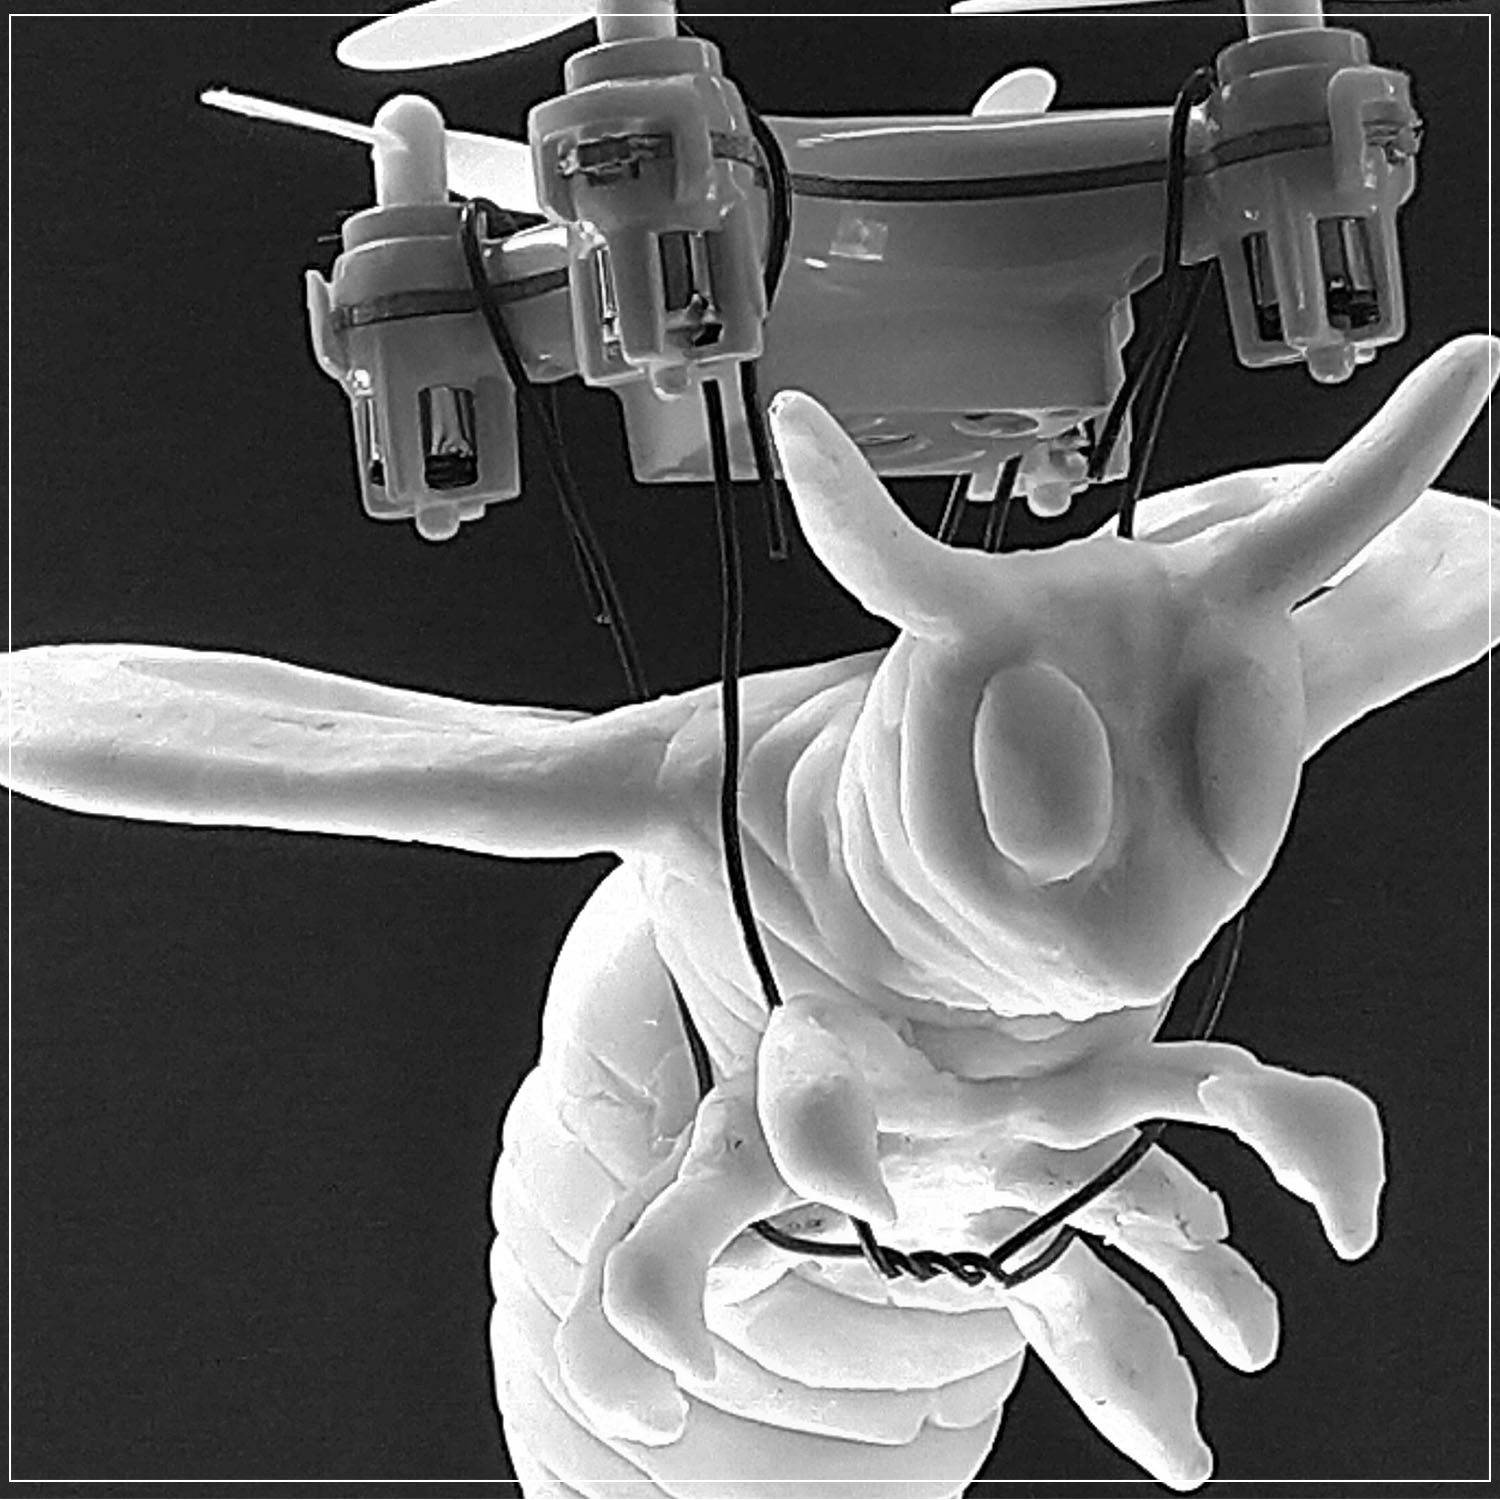
Bee, 2020, Glo-in-Dark Fimo clay and toy mini-drone. 5″x3″x3″.
All my work now has strong narrative content. I imagine and get to use more cultural connections than when I was an austere minimalist, as I was. Of course, all-hail materials and process, but I want to fool around more now.
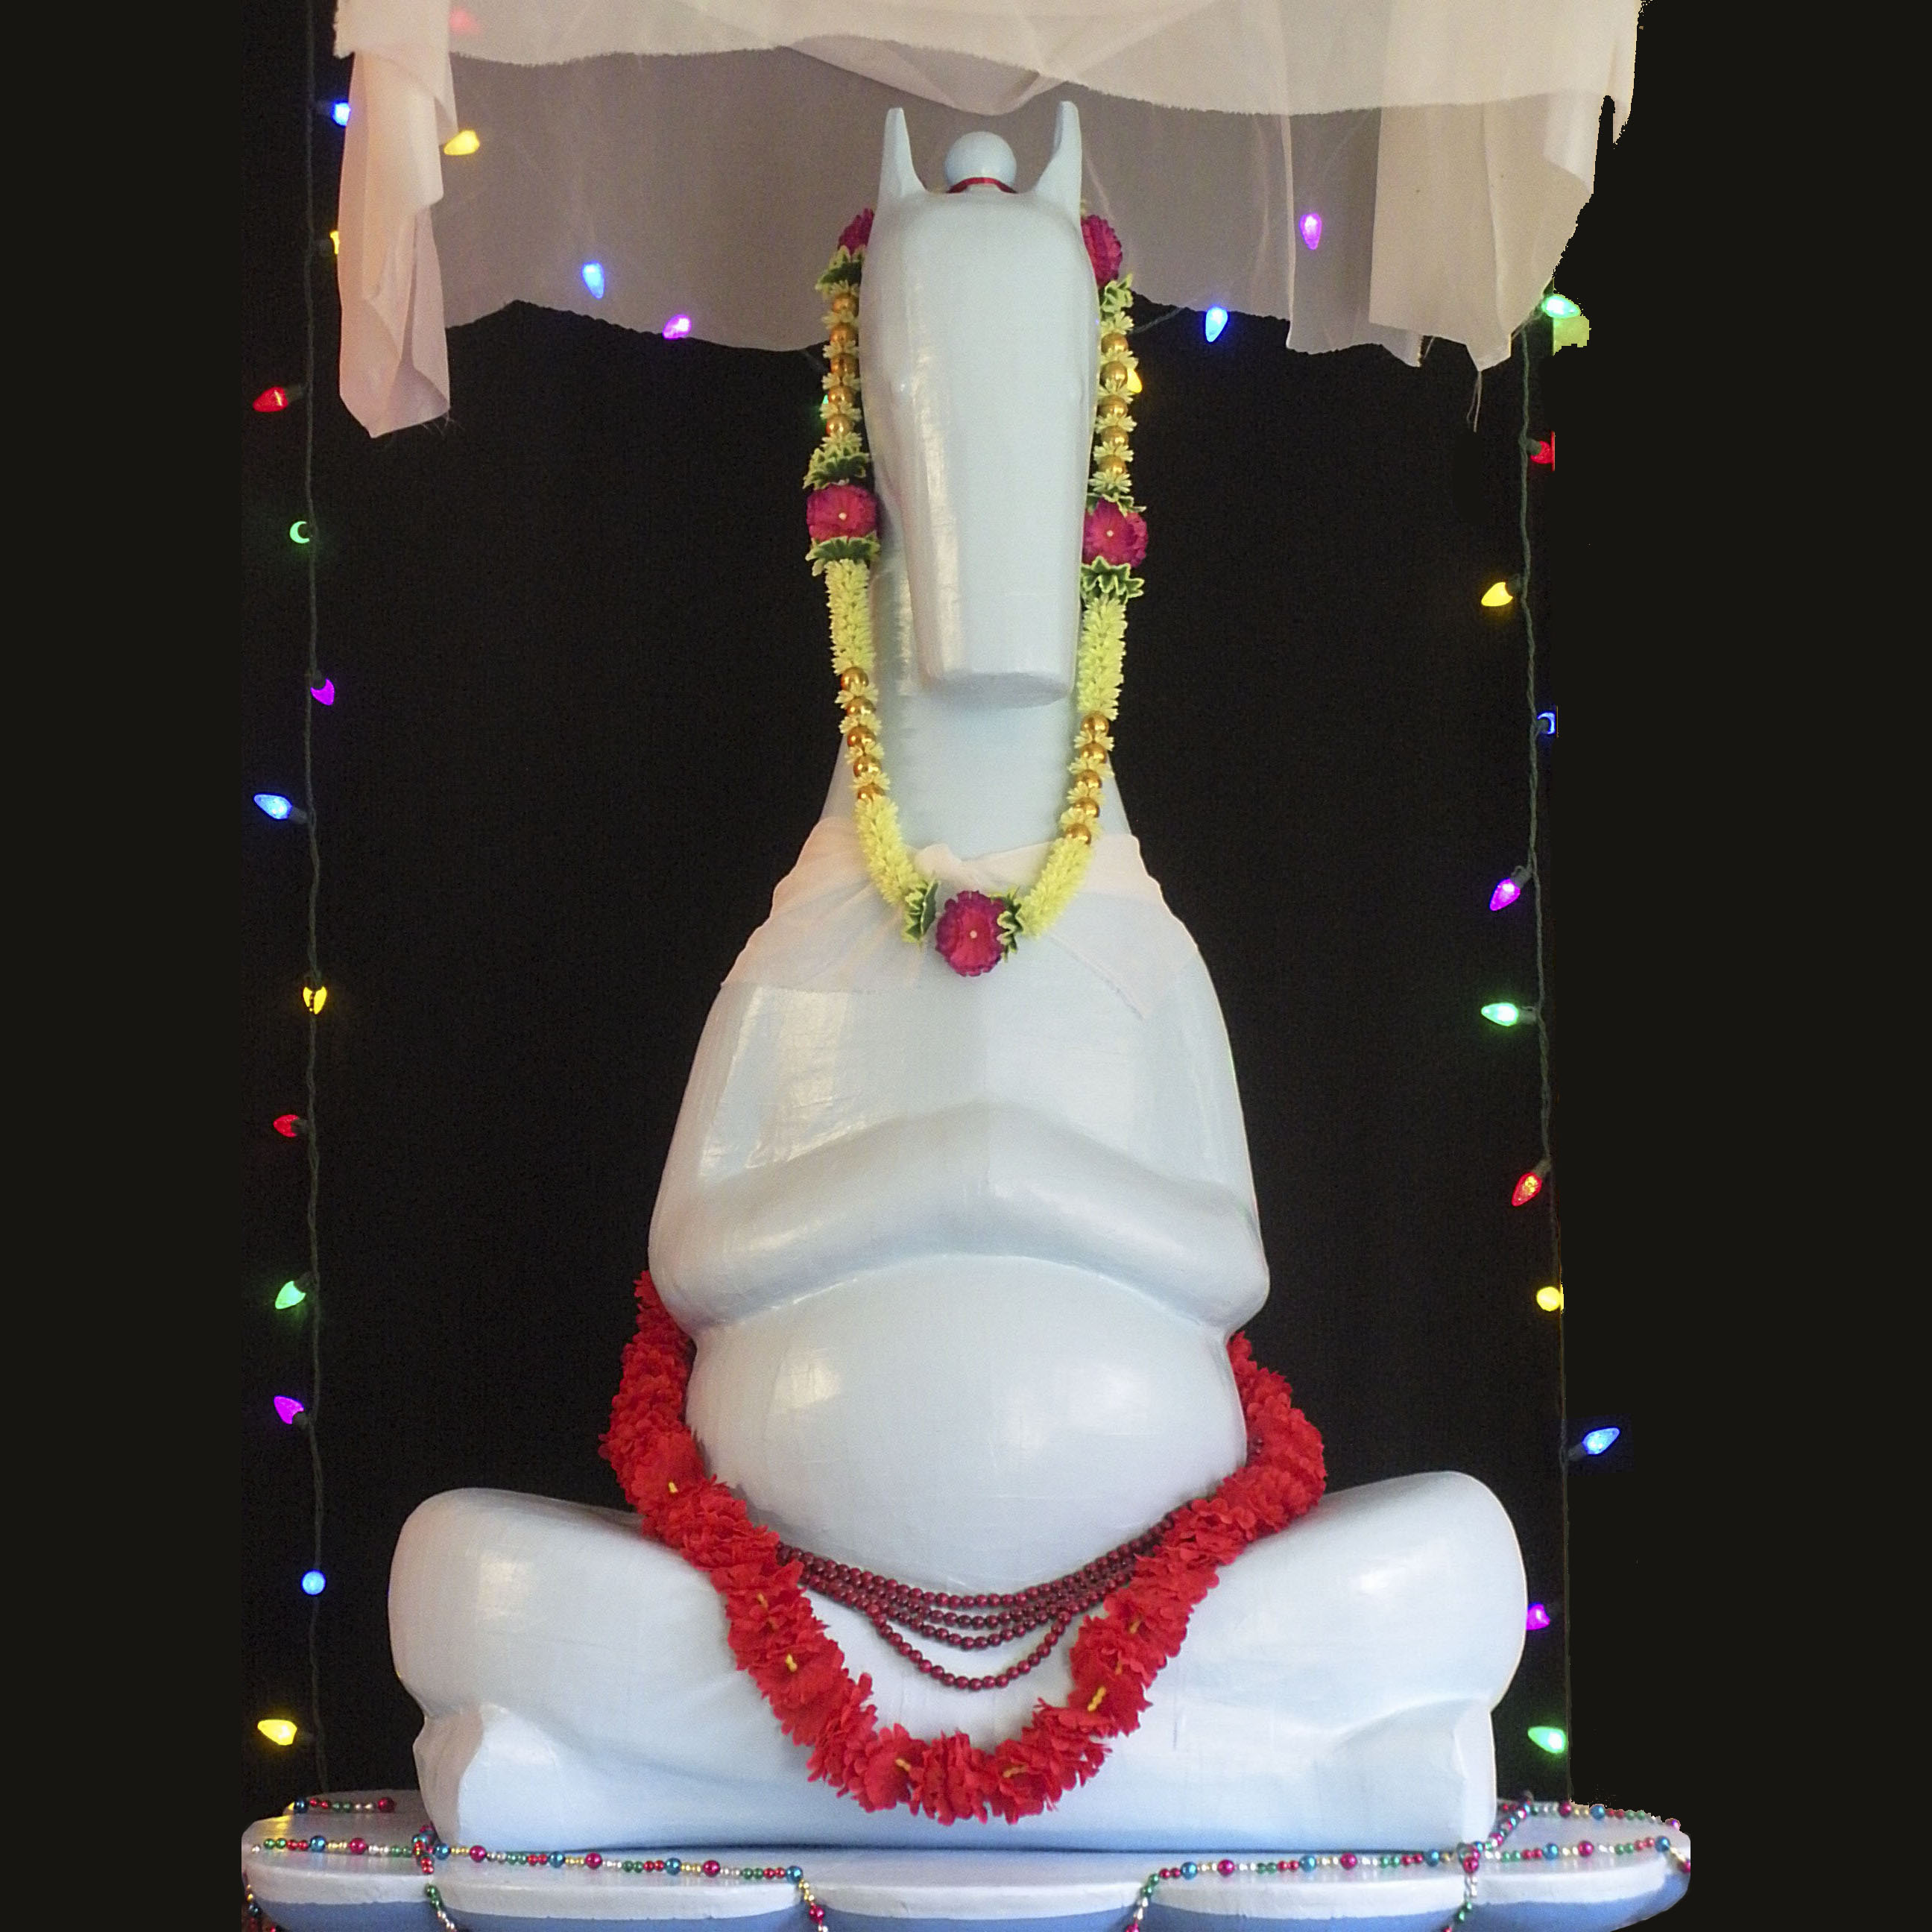
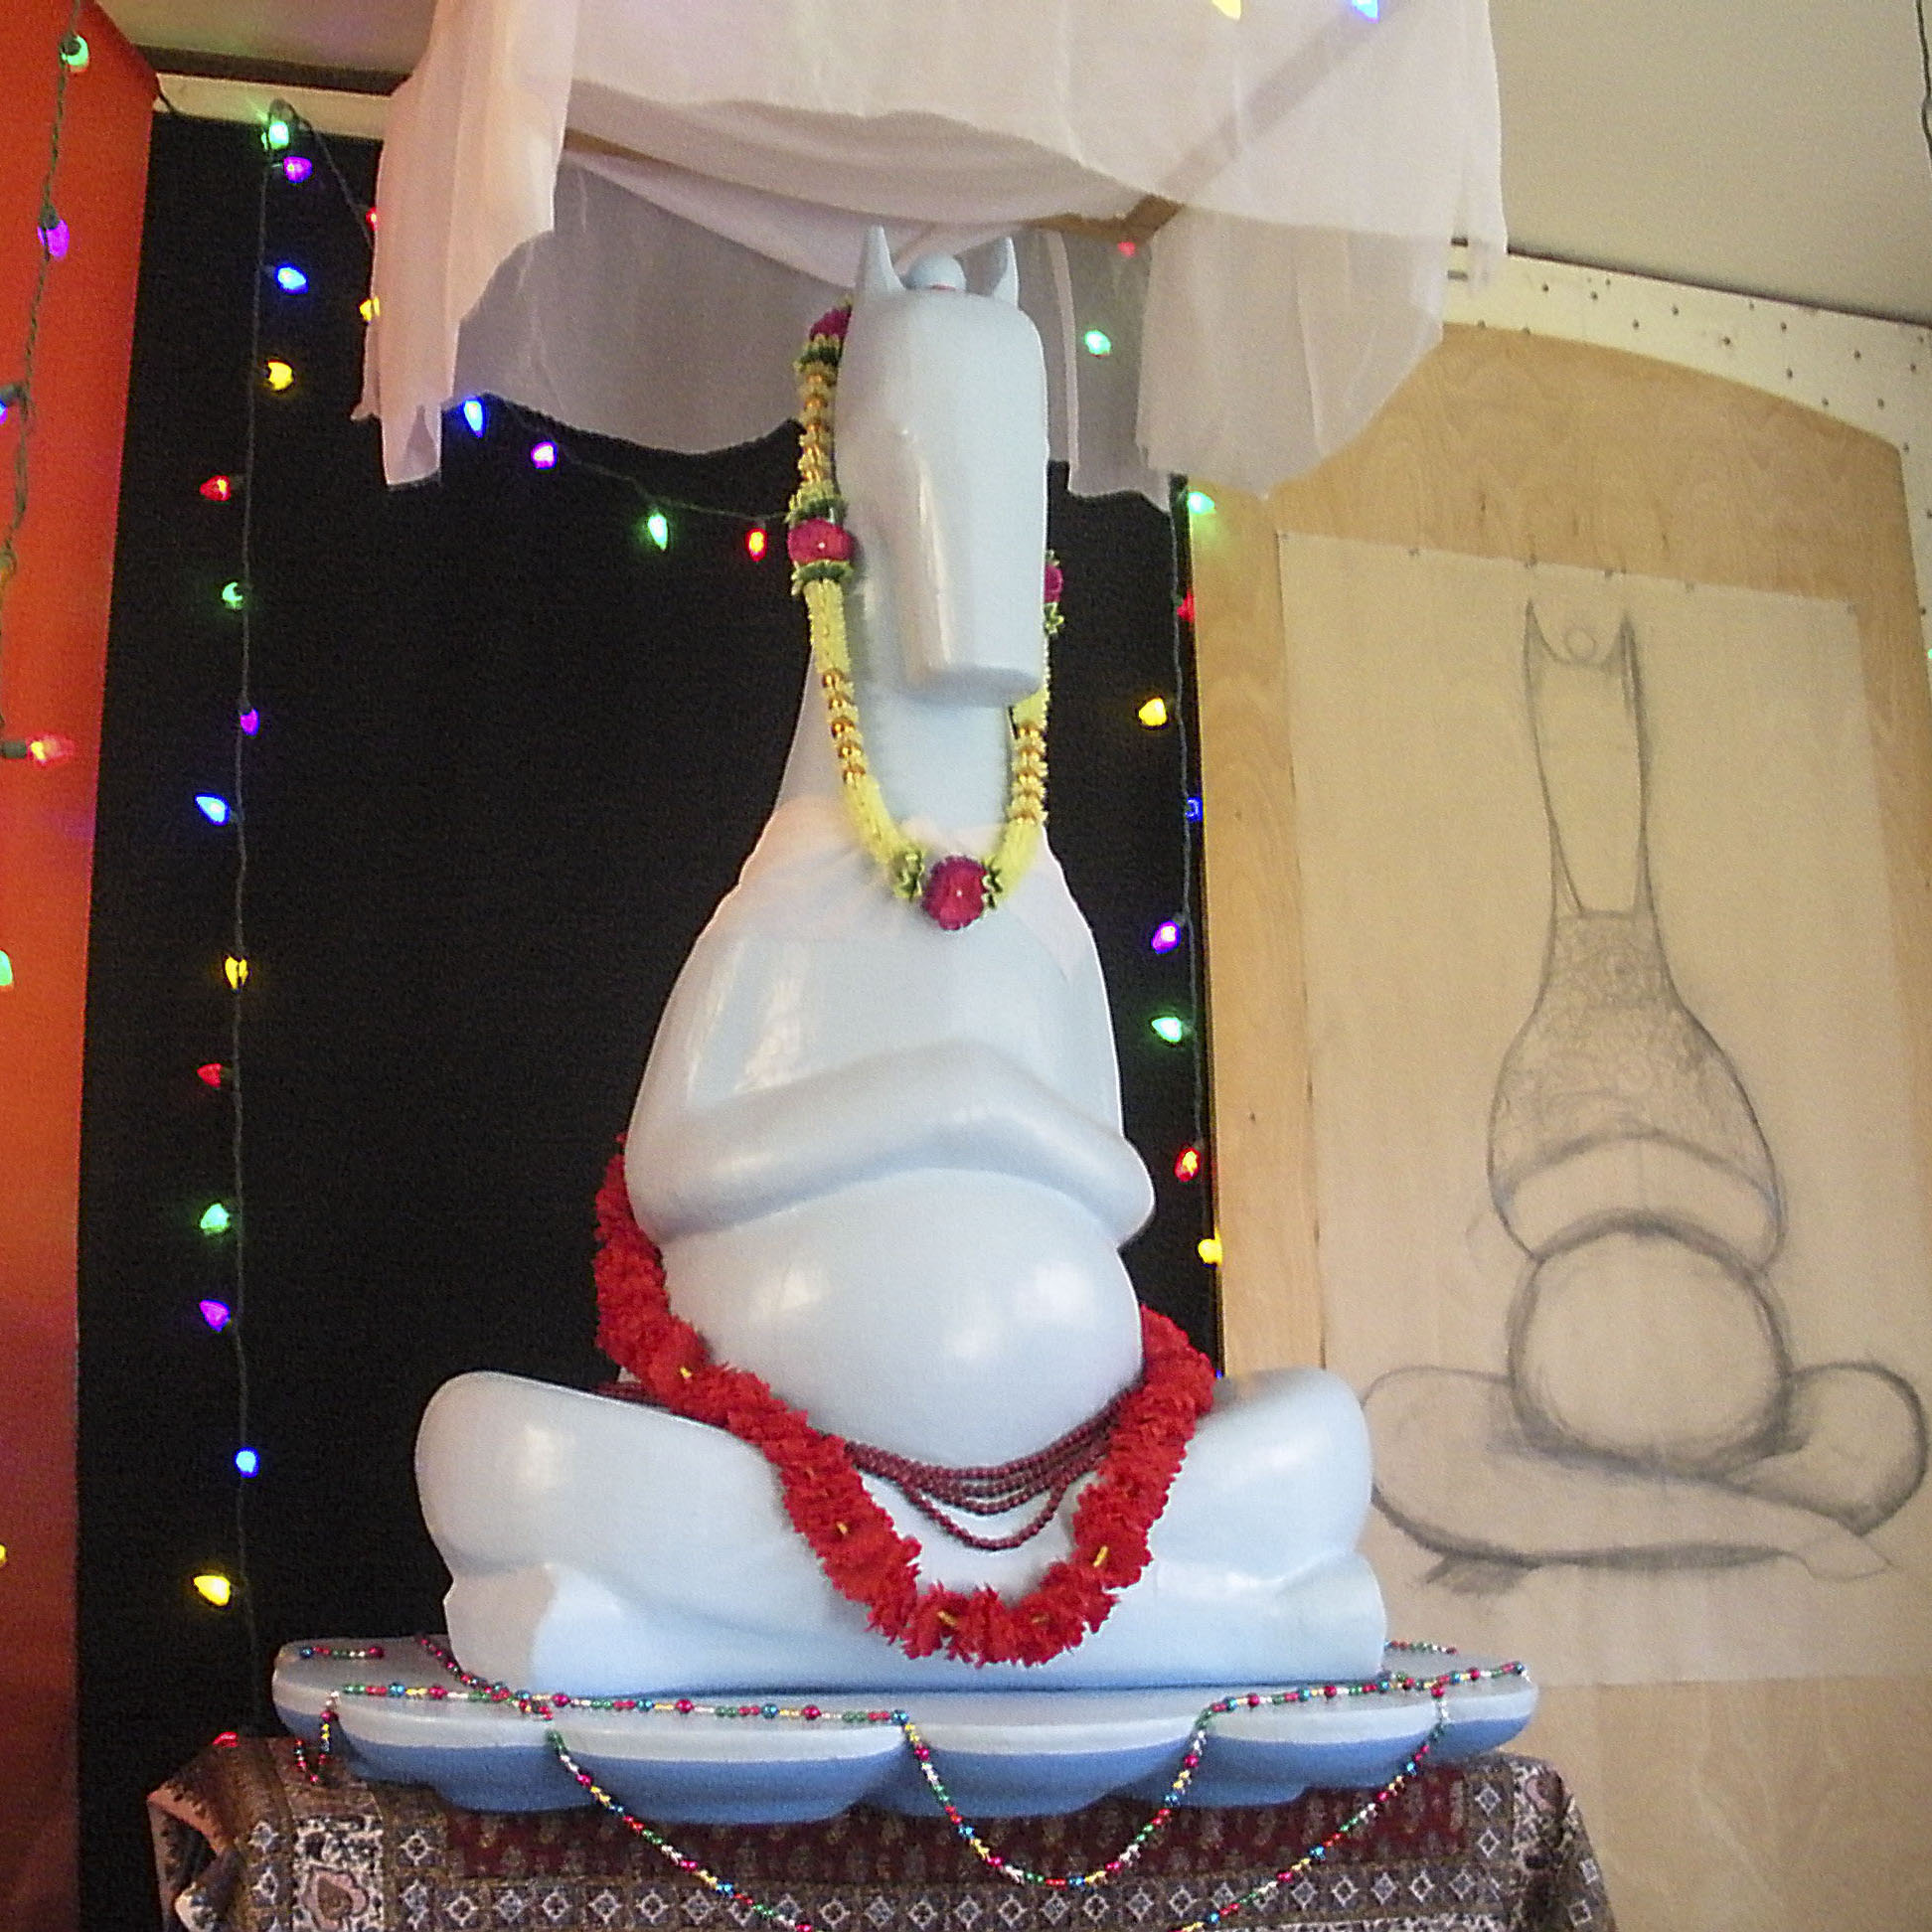
Now, Creating a place to live, for the Horse-Bodhisattva, a shine in the World. Out of the shiny bits and odd ends of what I have around, for fun and play. I feel like time is standing still – the aura of equanimity and composure radiates outwards from this sculpture into the whole world, now.
Now… so the word “now” is the word now. I’m spending a lot of time in my studio (now), it is so nice to have a real place to be (now), not a virtual place at all. Still, Happy to connect with you, dear viewer, anywhere or time (now, or later).


#BluePearlBodhisattva #Horse Bodhisattva #horse #horsebuddha #buddha #art #sculpture #fineart #matthewDG_art #bodhisattva
I’m not very bright. It takes a long time for me to figure out even obvious things. Like, a strategy for surface finish and adornment of this sculpture.
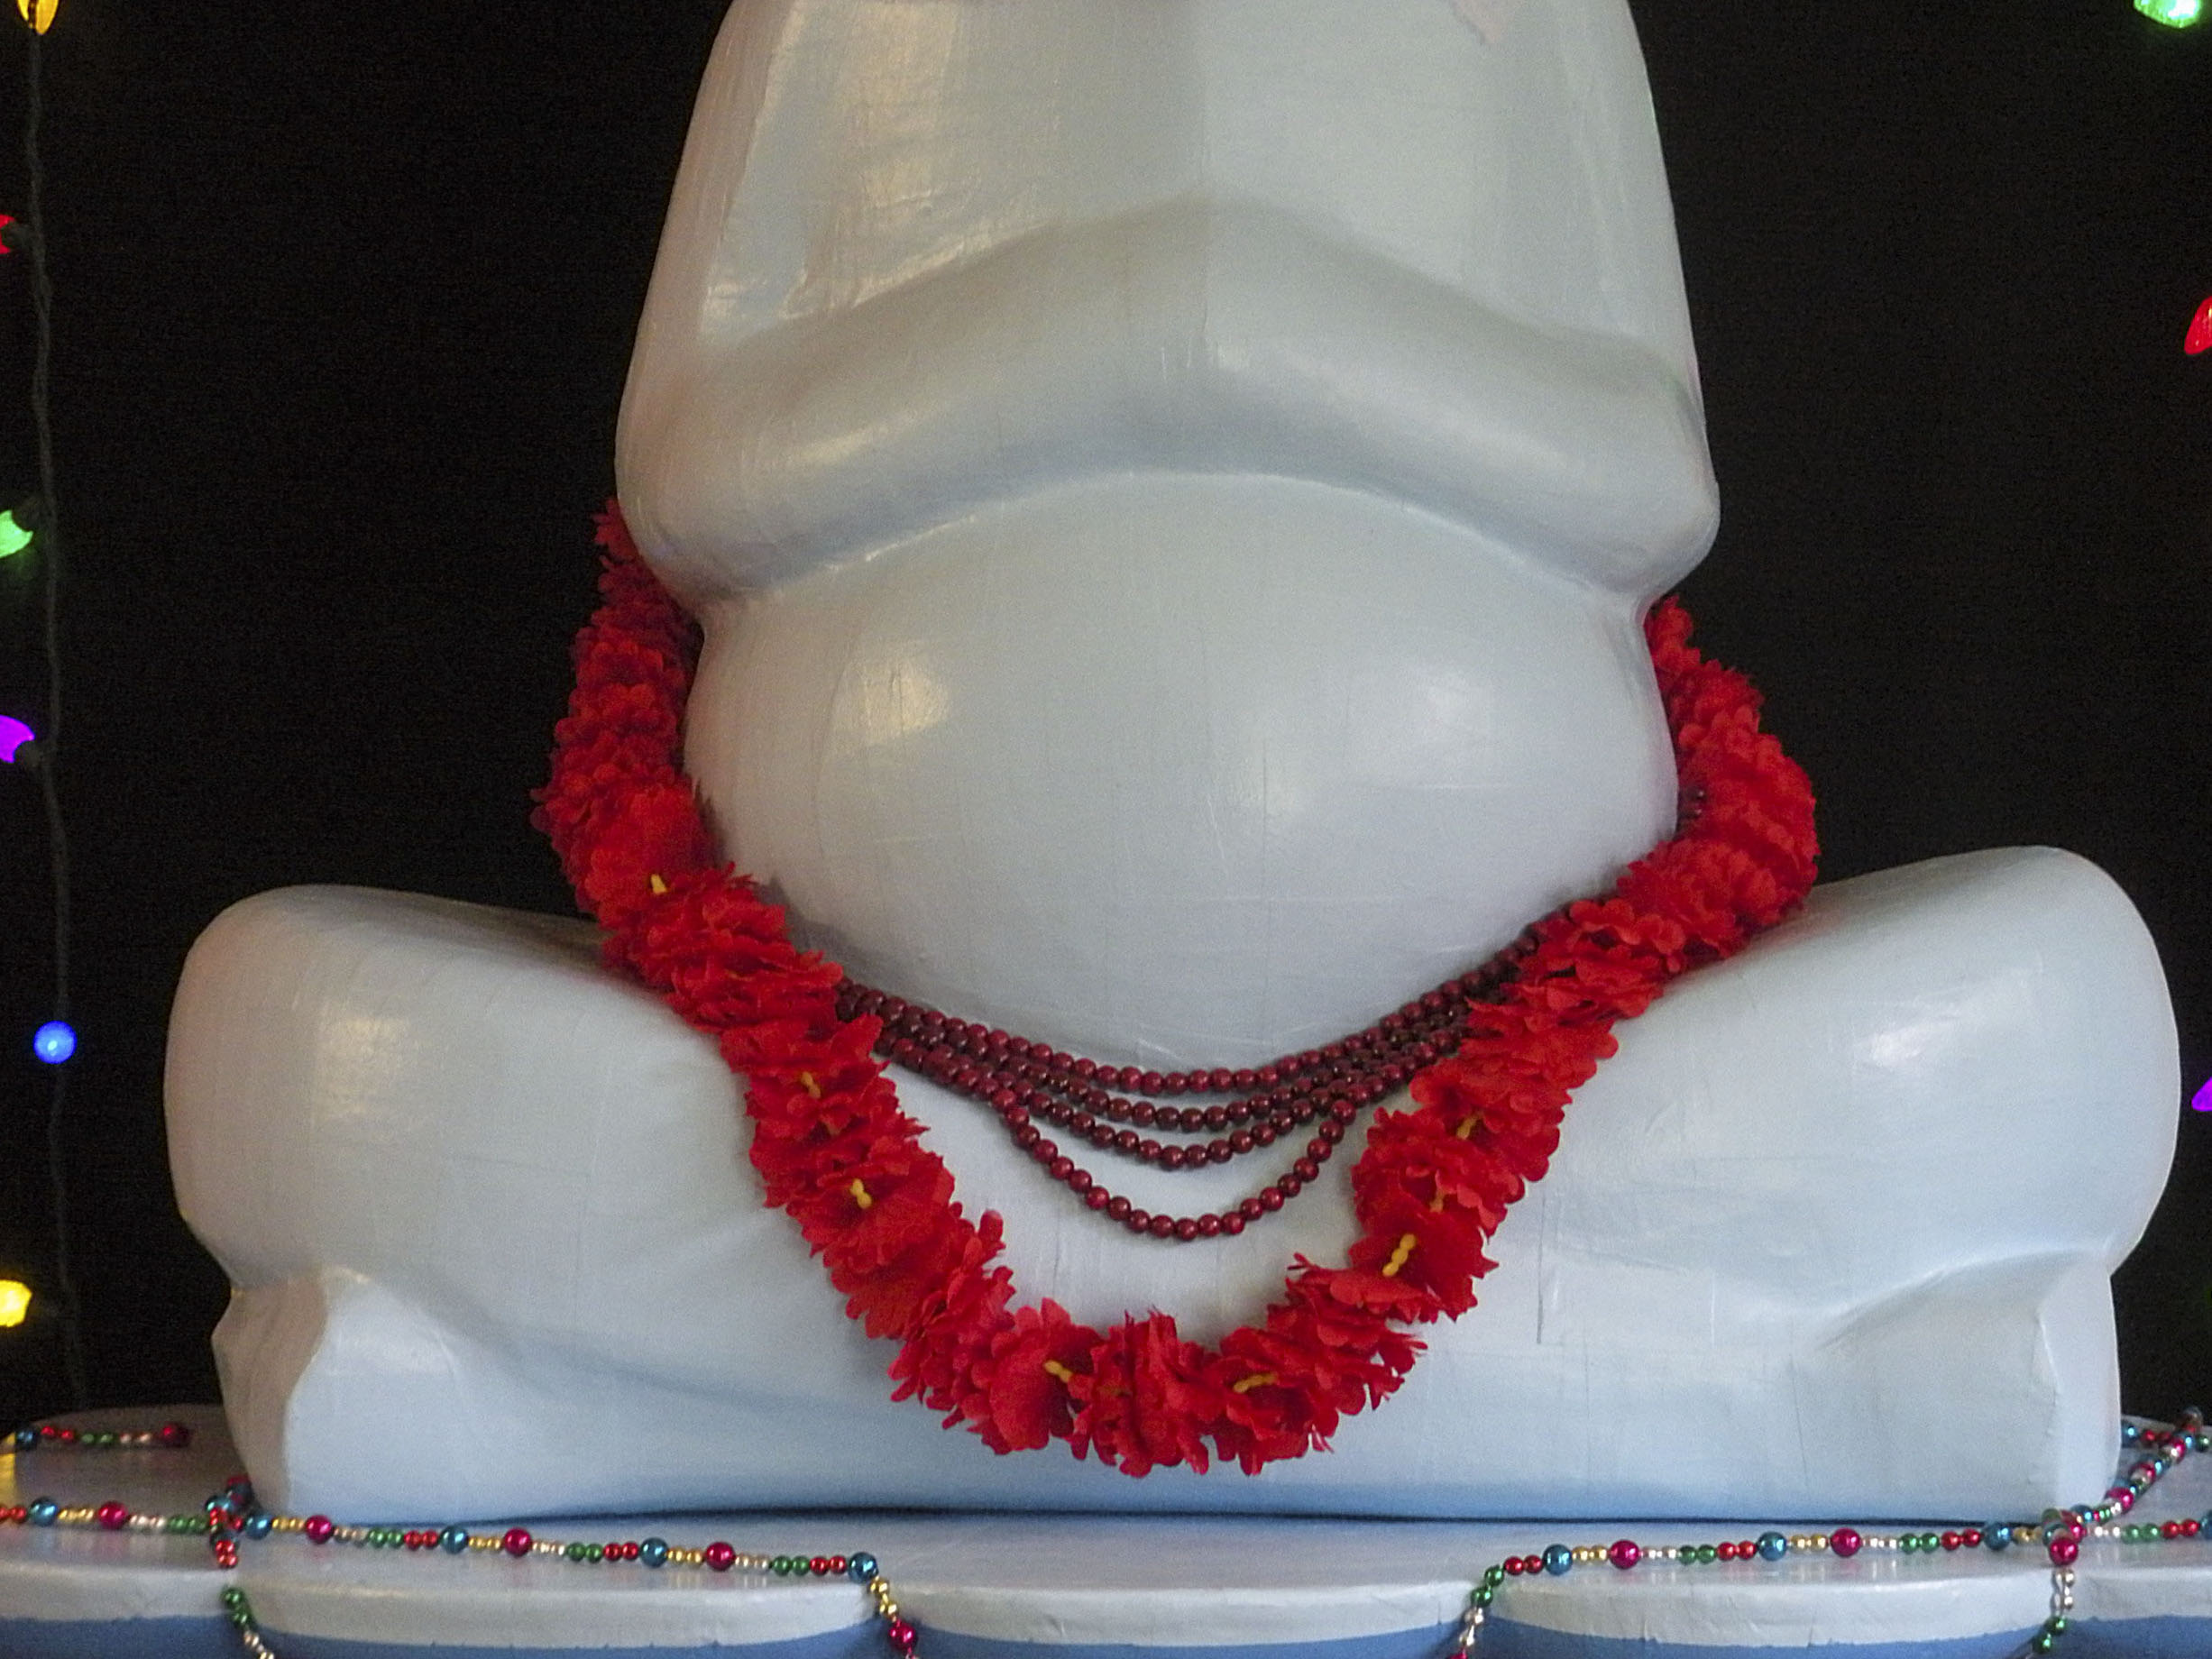
I had been settled on a base of color, layered with patterns, textures, and ornament, and more colors of Gold and Rose. But now I know I will create these qualities out of real objects, flowers, fabrics, beads, jewels, and stars; real things, as befits sculpture. Resist pictorial illusion.
Here’s revealed the atmosphere vibe of the completion of this.

Ornament: Flowers, beads, jewels, fabric, crystal, gold leaf
Pattern: geometric, Joseon textiles, paisley
Texture: shiny, soft, clear, glassy, fuzzy, velvet
Color: Turquoise Blue, Gold, and Rose
I made a lotus flower base for the Blue Pearl Bodhisattva (Horse Buddha) to sit upon. Details take a lot of work, although they aren’t significant, it still matters to do them. Bases are important of course. So is time-consuming to video like this. Also showing some techniques of working with foam and papier-mâché.
Having built-up enough volume of foam over the month, I’m ready to start carving back, and get some shape happening. I can see this will take a while. It’s good though to feel the materials and have the pleasure of working them with hands-on and tools. This is, after all, the good part.


For a minute I’d optimistically thought I was half-way on this: that I’d move onto the larger final version sooner. But now I want to take the time to enjoy working on this; what I’d been thinking of as the model, taking on an outcome of it’s own, and experimenting with form, contours, and especially surface details. Can I do both at once? Ooooh…?? I should work out the surface detail now, before I have to do it on the large final version. If I were smart about it. But I’m not. I’m careless , and frivolous, and it appears, unconcerned with technique and process.
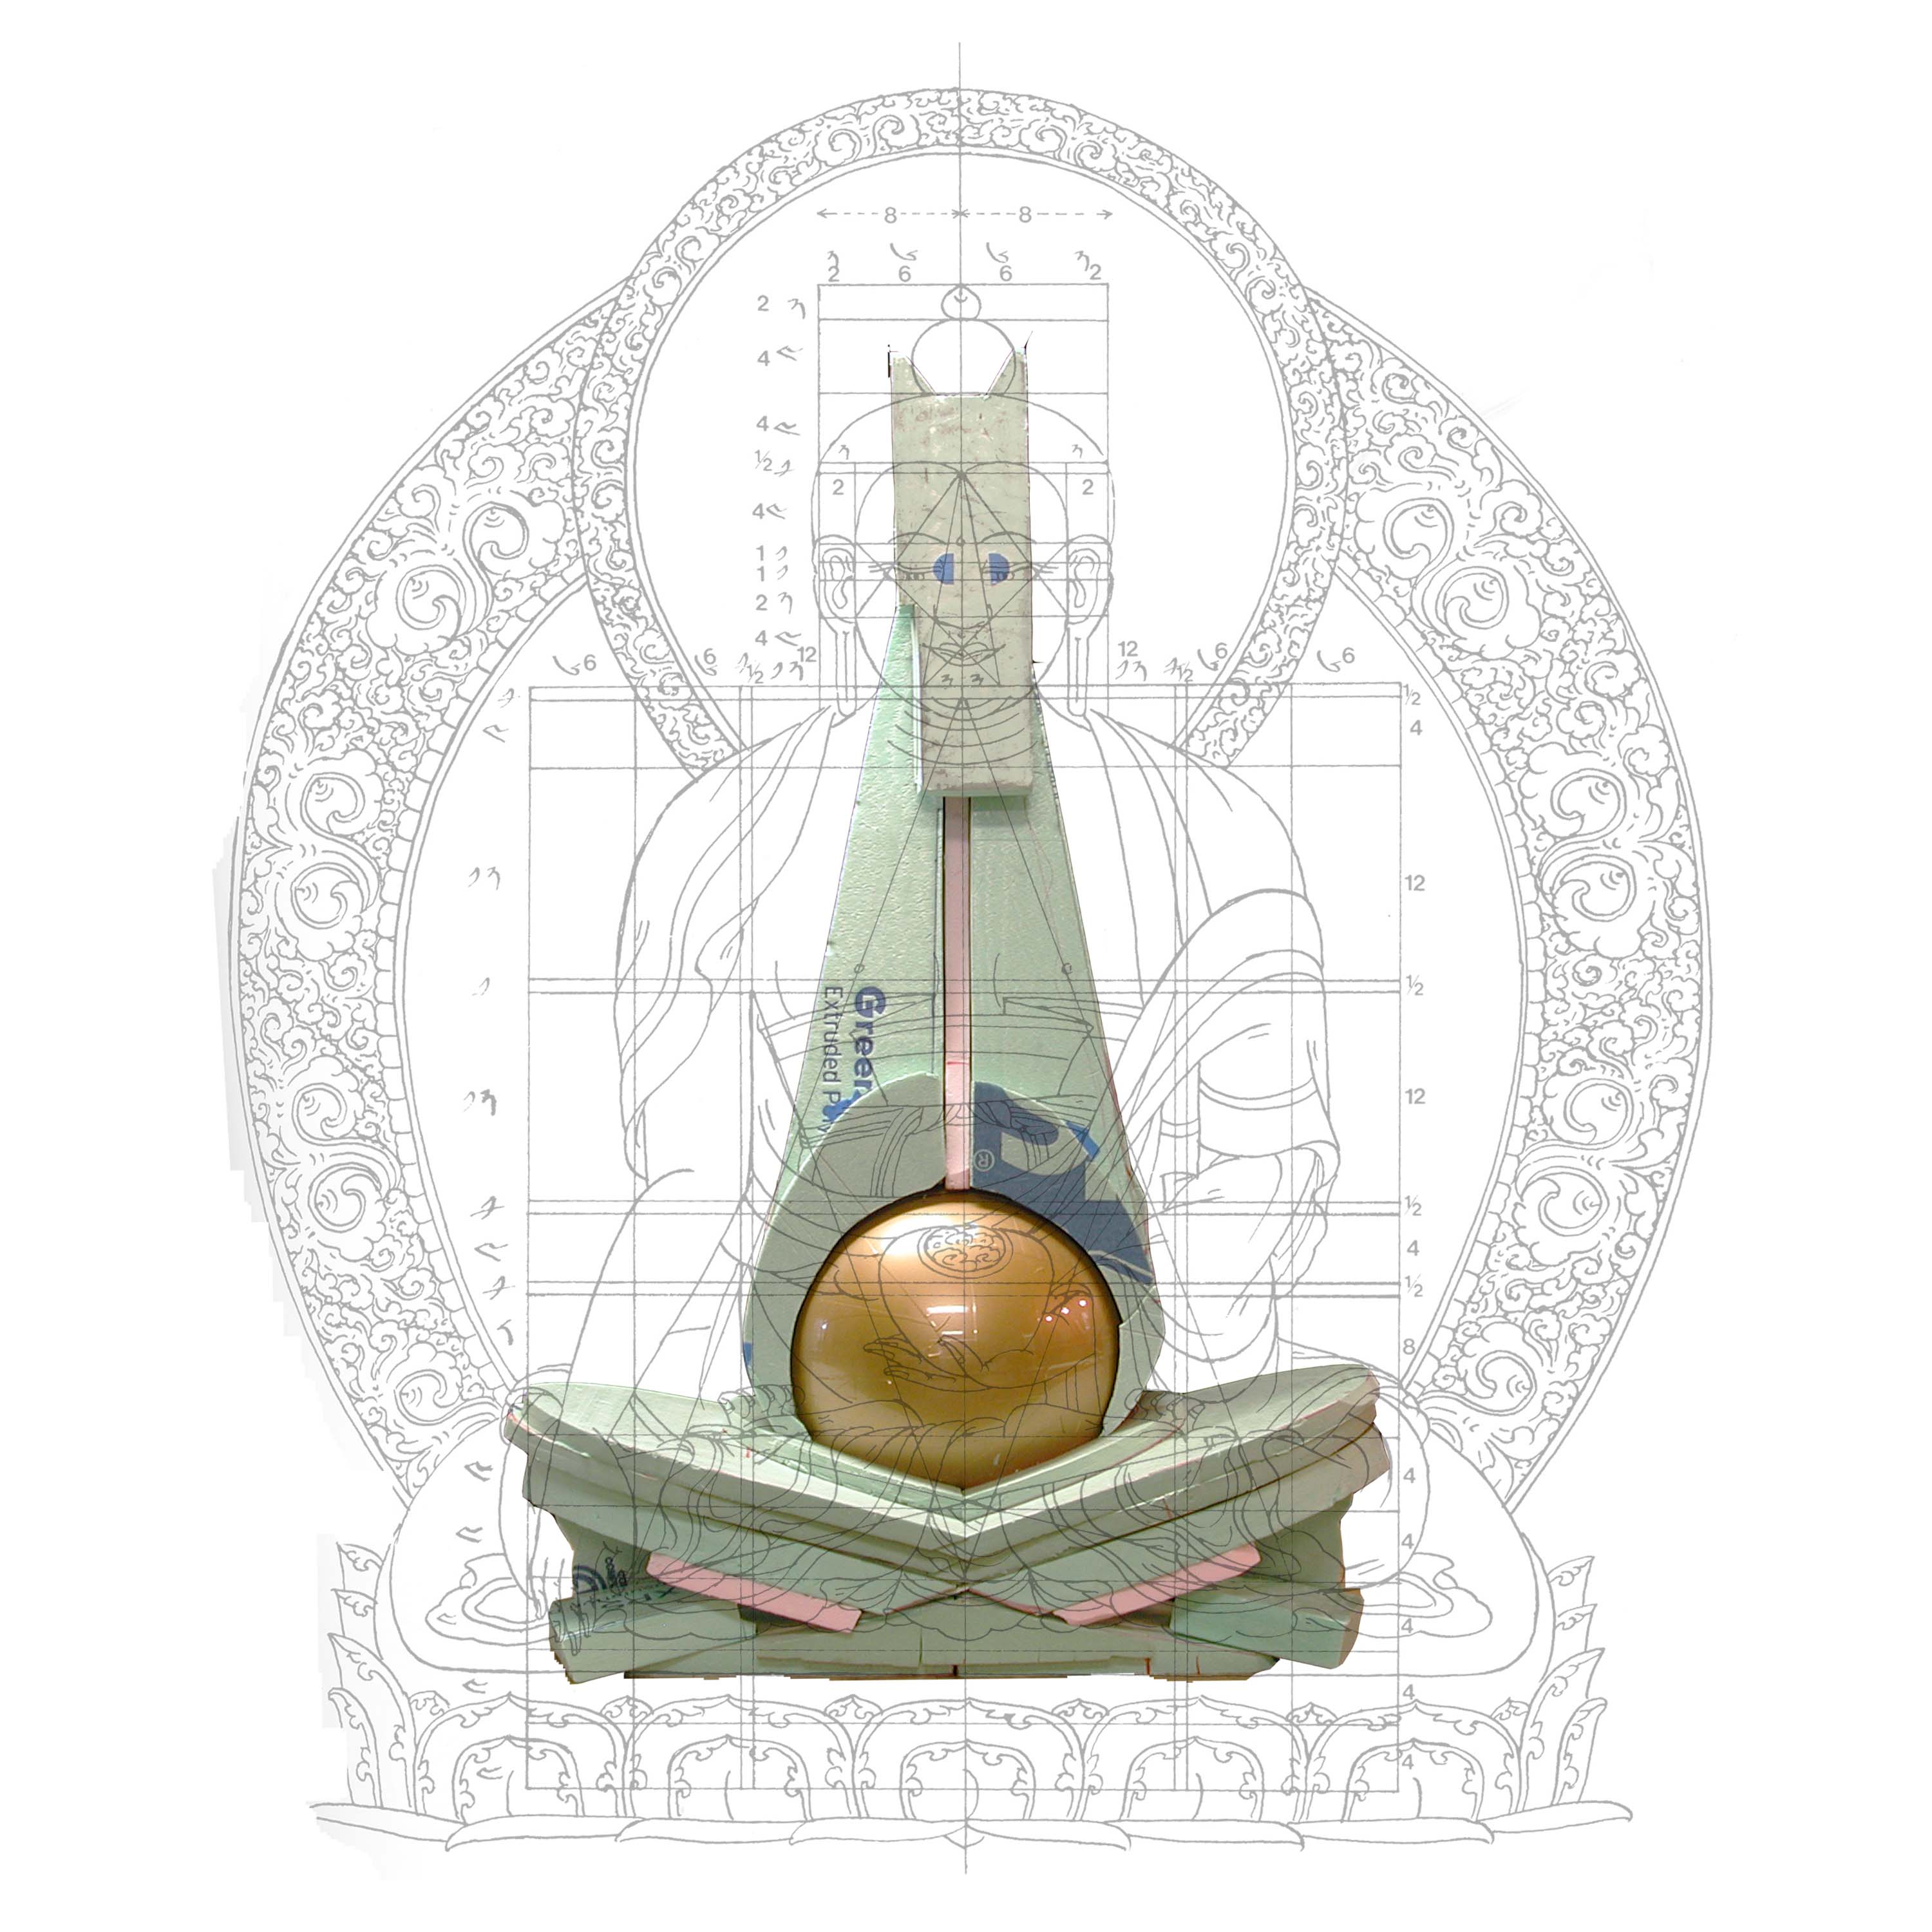
Progressing with the volume, and checking the proportions. Perfect. Why don’t I assume by now that I know how to make a Buddha? I’ve seen a million of them.
Get ready. Now I reveal the Futurist Gothic finish for this piece, gold vinyl wrap of my dreams. 3M 1080 Car Wrap. This stuff is great, used to wrap cars instead of painting them now, comes in a lot of colors and finishes. Applying it has a knack, so I’ll record something.
The material is paper-backed sticky vinyl, and can be warmed to stretch and conform to complex surfaces. You can learn a lot about using it on a popular video streaming site, but that will be about wrapping cars. I’m going to cut it into triangles mostly, and apply it like trencadis tile. I’ll make paper templates to fit the large flat tail piece and head piece. Not waste any material.


Remove the backing from half the material, and arrange on the piece. Then remove the rest and apply pressure with squeegee to smooth.


Using gentle heat to smooth the creases.


Full coverage.


I’m using a slightly different texture of wrap, “brushed metal” to create a highlight on the large flat sections.


So there, done at last and ready to deliver to the show I’m invited to. About six months from the conception. Everything about the materials of this piece were new to me, a big experiment in a process used somewhat to make movie props and parade floats, but especially Fallas sculptures. The finished work is only about 25 lbs. A way to work at larger scale without out the weight, cost and labor of traditional materials like plaster or fiberglass; a way to realize extravagant designs without too much commitment of $, time and effort. Definitely enjoying this freedom these materials permit.
