The big day, again. The scene at H’s foundry studio
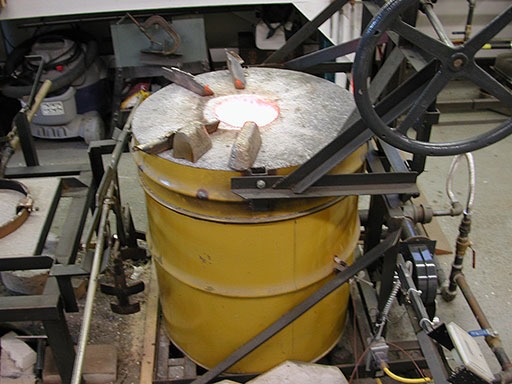
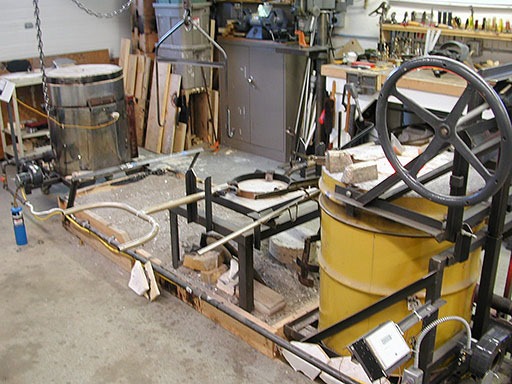
Bronze melting in the furnace, tools waiting on the line, mold preheating in the kiln. No action pictures, sorry, too busy. (video of another pour here)
The ceramic shell molds just filled:

As the metal cools, it shrinks, and begins to fracture the mold apart.

After lunch, we return, anxious to roughly smash up the shell and see what we have.
Front

Back

What I’m looking for is; the casting is complete, no voids or freeze-out of metal in any part, a generally smooth consistency of metal and good surface details faithful to the original. There is the customary small amount of pitting or scaring caused impurities in the bronze, which gives character to the material, and nothing much in terms of flaws from/in the shell molds which would require much repair or patching, there is a nice fire scale and color to the casting.


I have a tremendous feeling of satisfaction well-earned. I grateful to be working on a team with guys who can produce such things as this. I feel it is a rare thing to be working at this level of excellence in anything, and I’m glad it is happening to me.
Next day, back at my shop, I take apart the second piece more thoroughly.


The shell mostly flakes away easily, and the deeper crevices are cleaned out using a chisel and hammer.


I have two fine castings.

Next, I cut off the sprue system.

Now I can see the completed piece, the complete general idea. It is excellent, what I hoped for.

Inevitably there is still much to do to detail or “chase” the casting; more cleaning, maybe sandblasting in places and patching\repairing some areas, and choosing whether or not to patina the piece and how. I’m leaning towards keeping the natural fire-scale finish, rather raw now, but it improves after a year or so naturally. Otherwise I’d considered that classic black with green haze patina we all know from museum pieces. Think about it. Another weekend and this will be ready for my show in October.
October 4 – November 1, 2013
Main Gallery: Joyce Brienza & Matt De Genaro
Opening Reception: Friday, October 4 – 7pm – 9pm
Paint Creek Center for the Arts
407 Pine Street
Rochester, MI 48307
Gallery Hours: Monday – Thursday 9am – 9pm, Friday 9am – 5pm, Saturday 10am – 4pm